How I made MARIO in construct V3 Pt.8 (Its Fire time!)

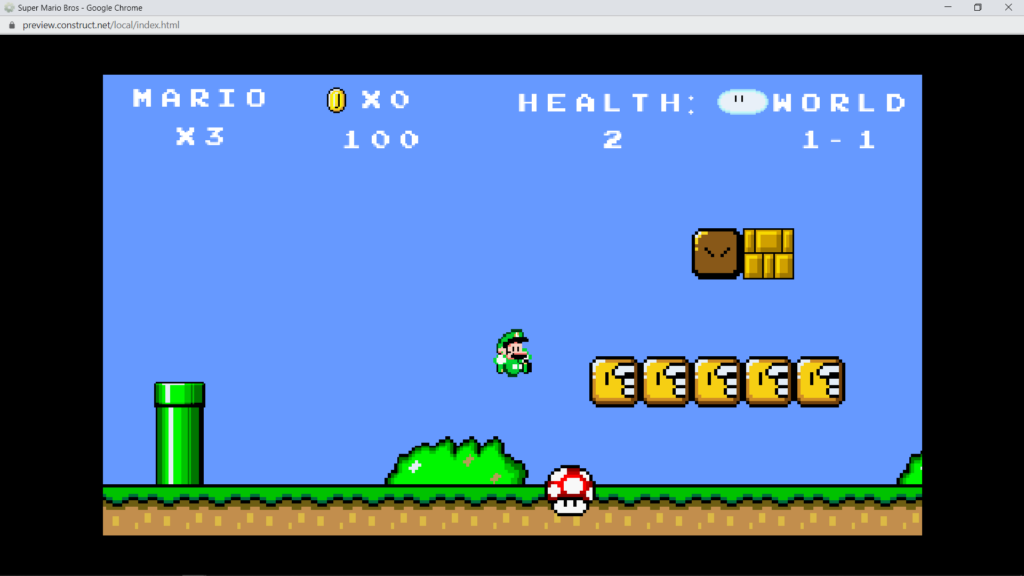
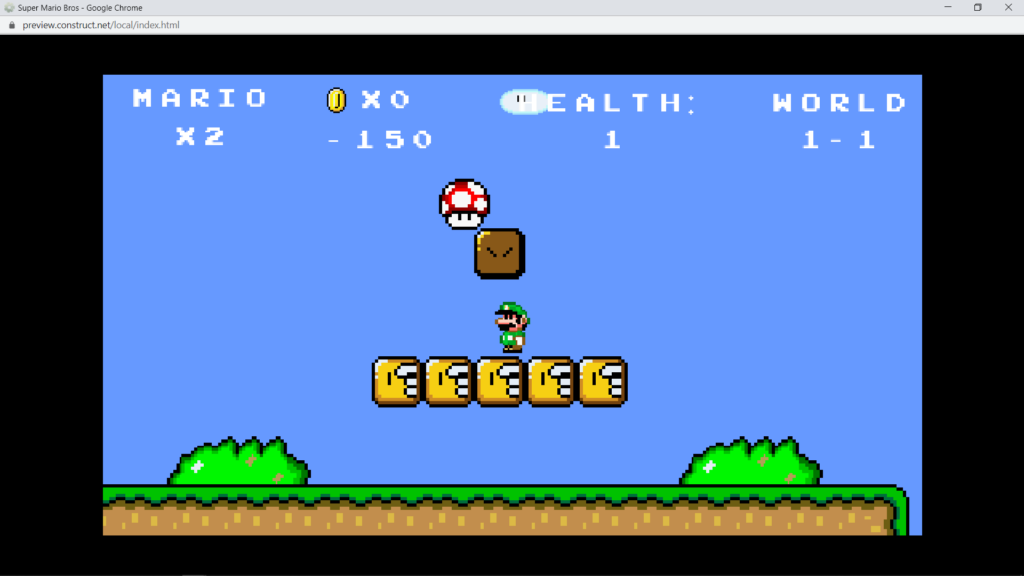
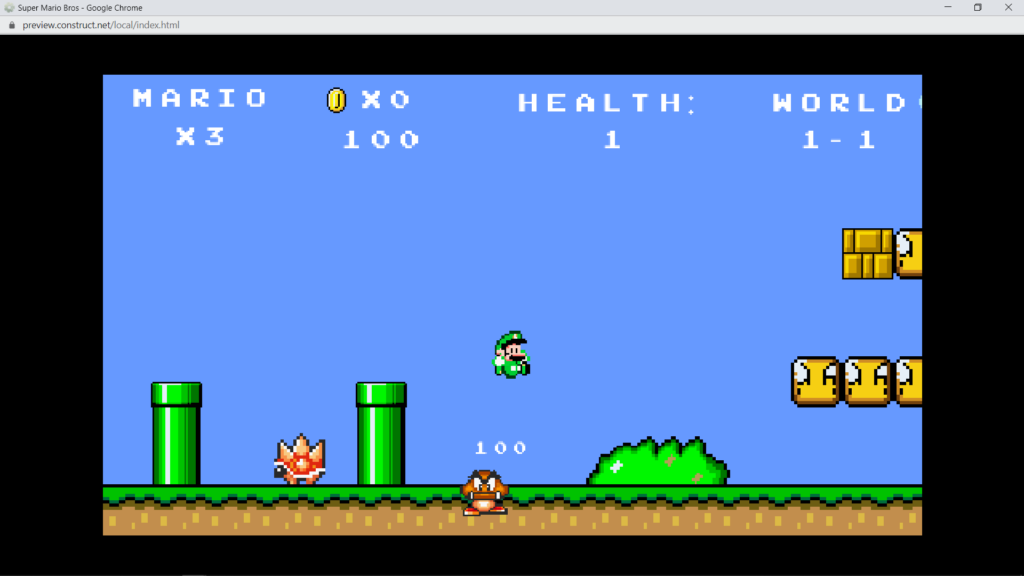
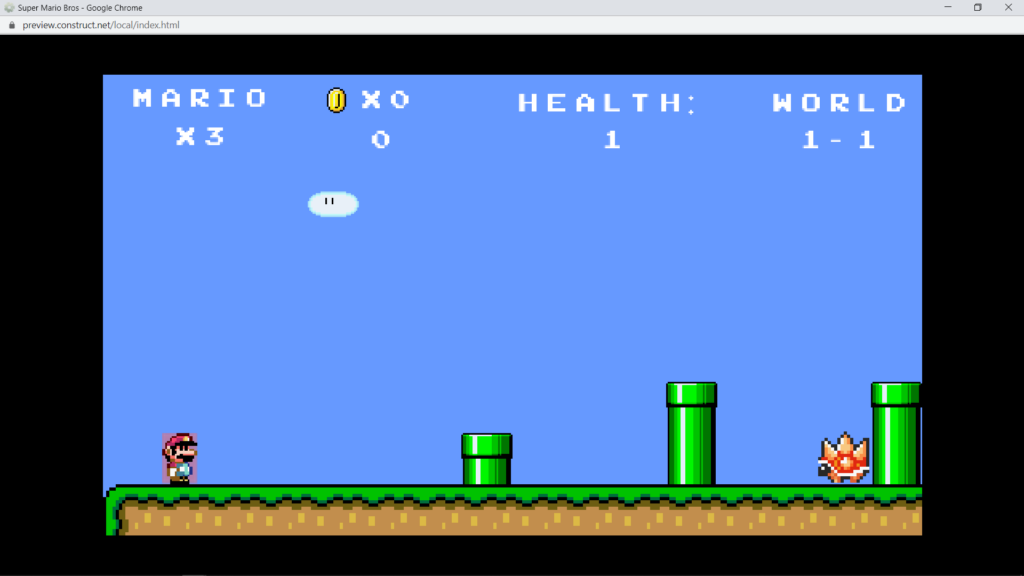
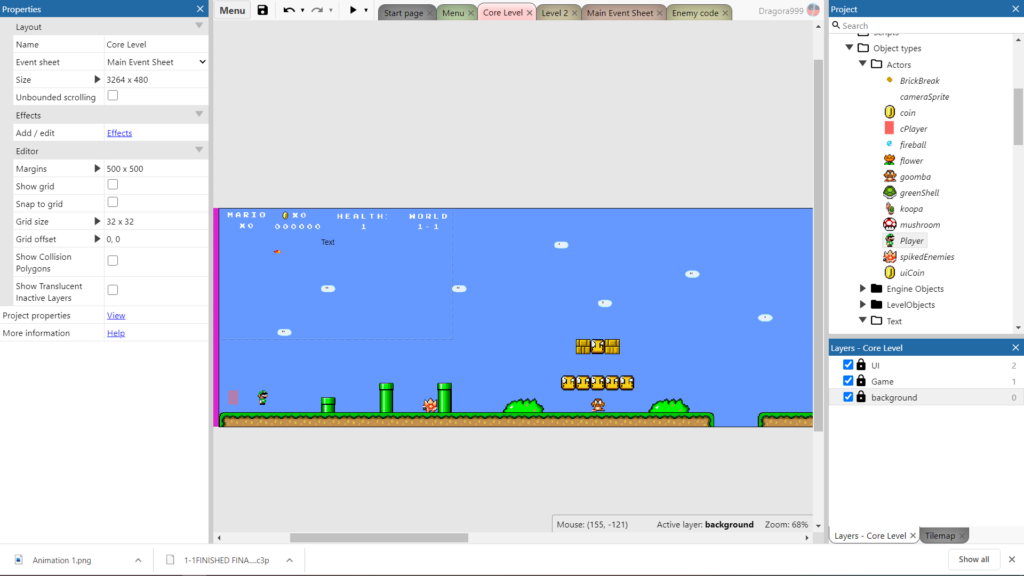
In today’s blog I will be giving Mario fireballs with the fire flower I will be adding to the game. With this Mario will be able to kill all the enemies including spiked enemies and koopas.

But without further ado lets get started

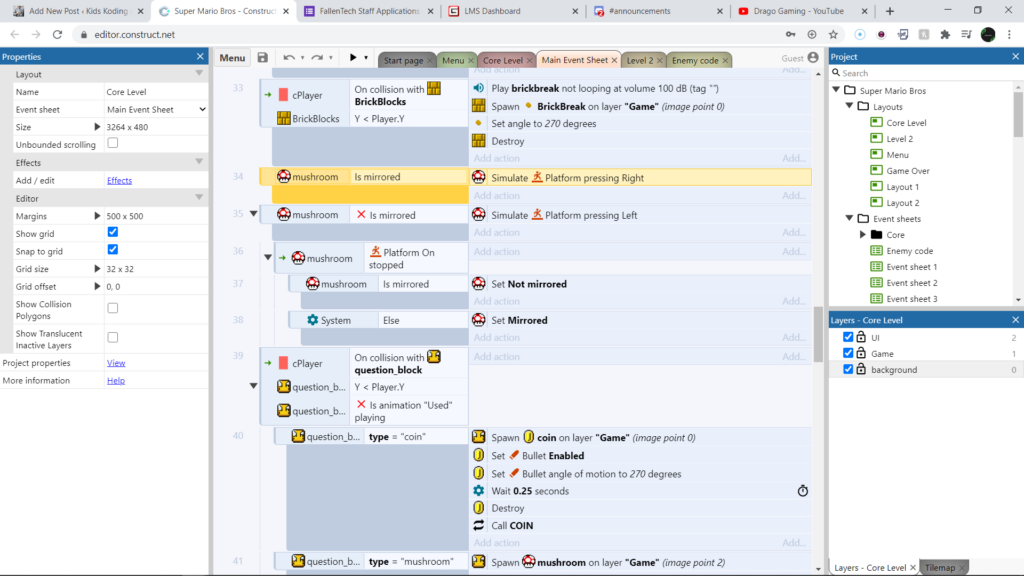
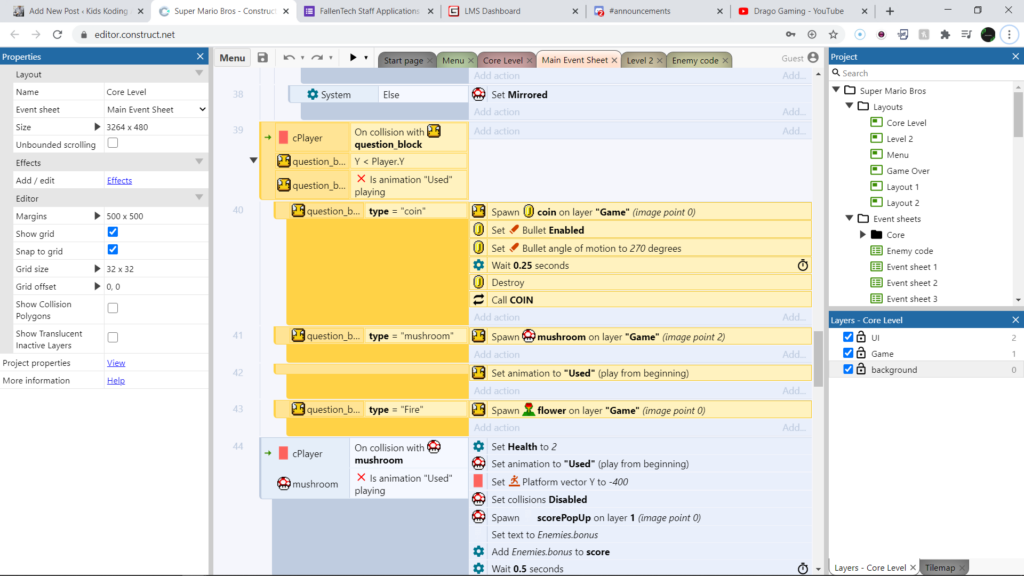
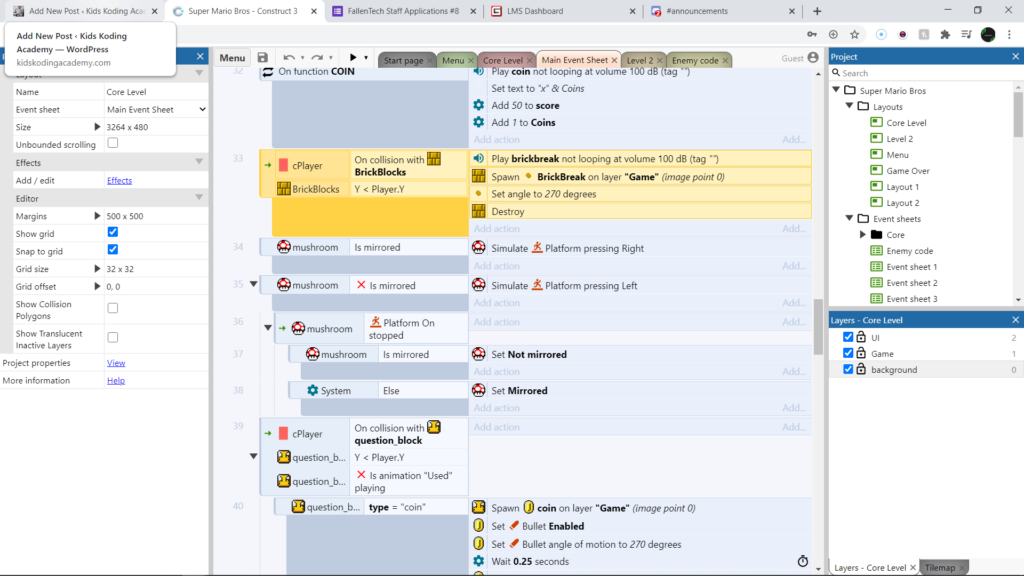
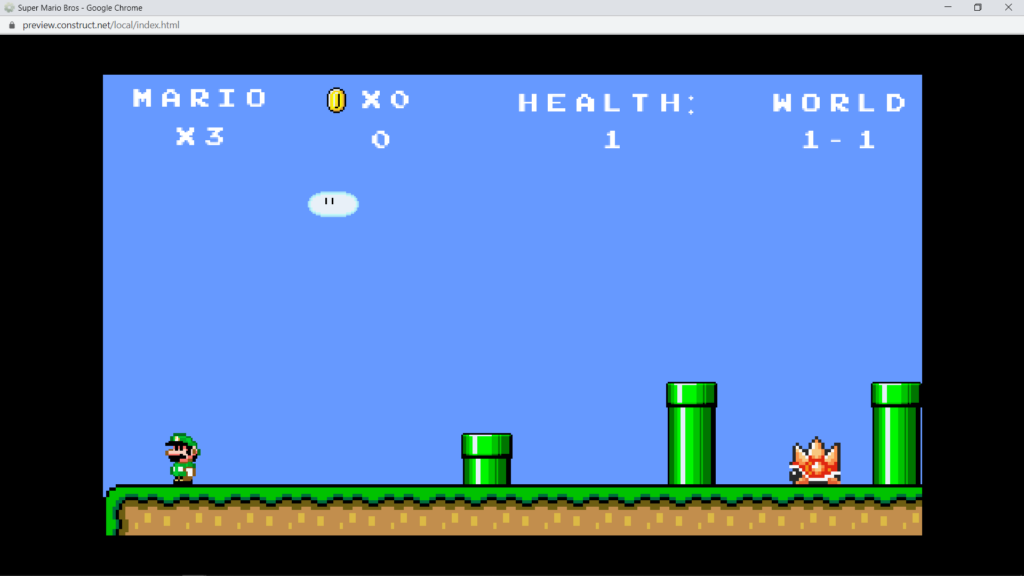
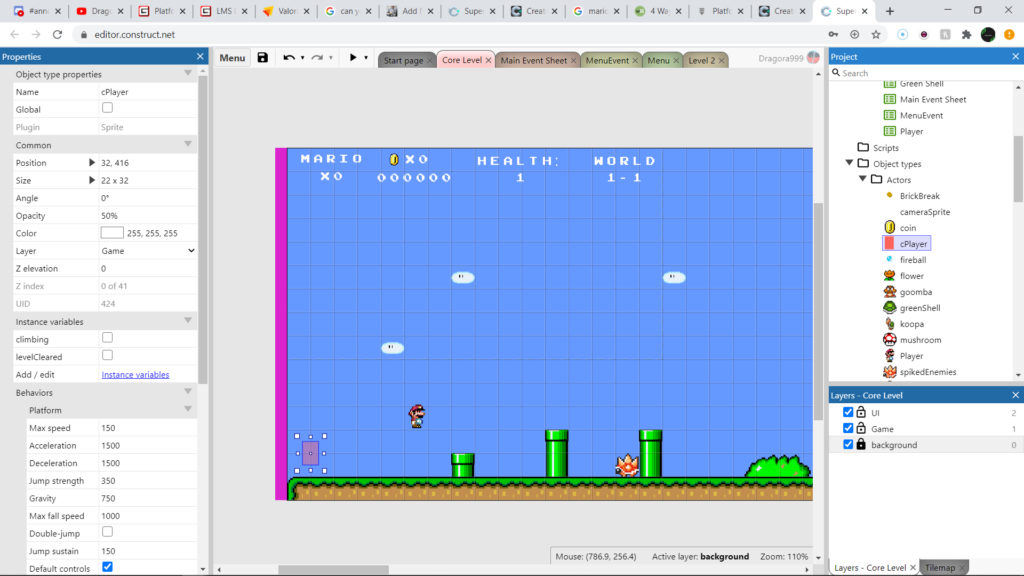
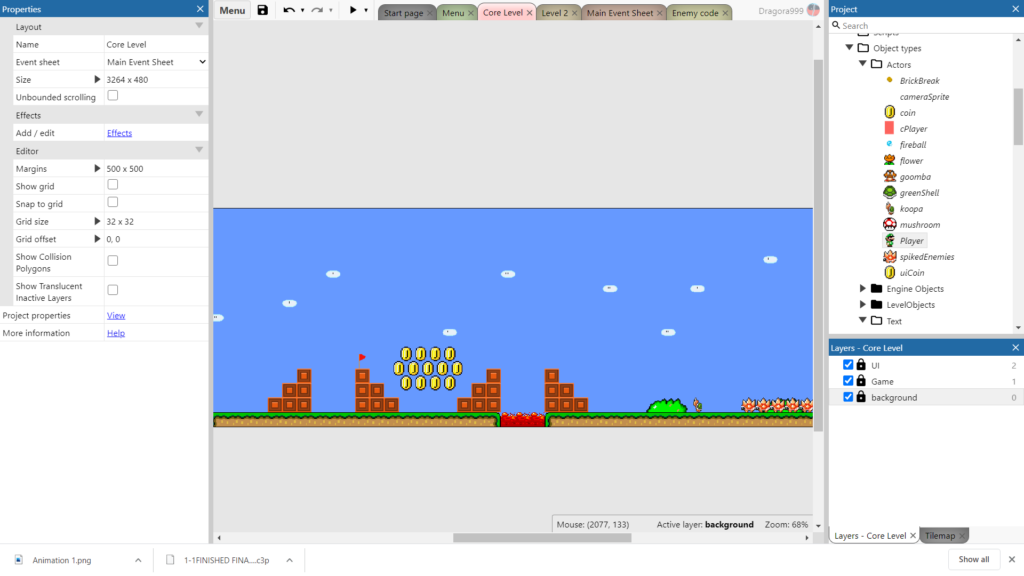
`To start we will have to add a question block that contains our fire flower. I chose the middle bottom block like this.

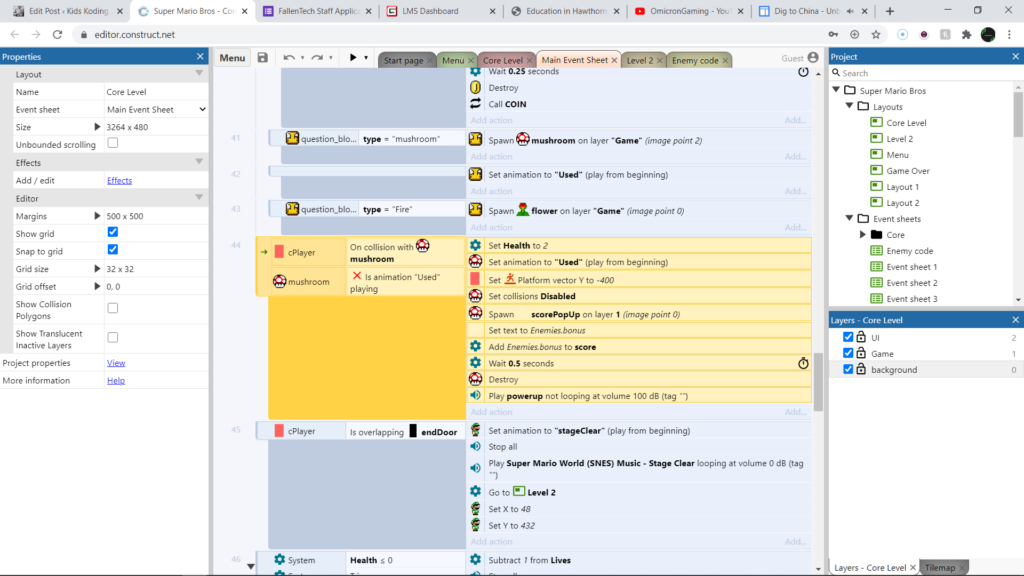
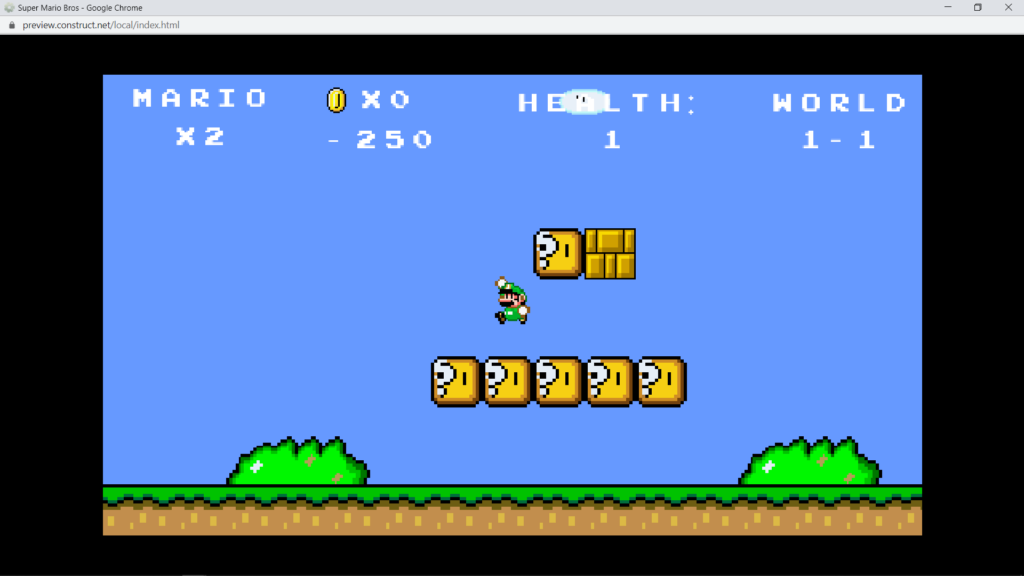
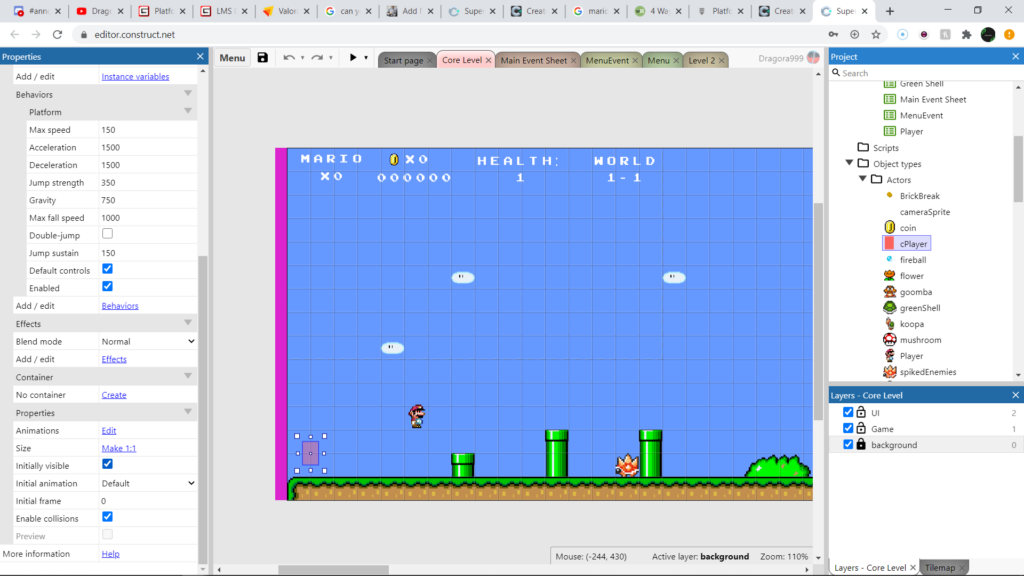
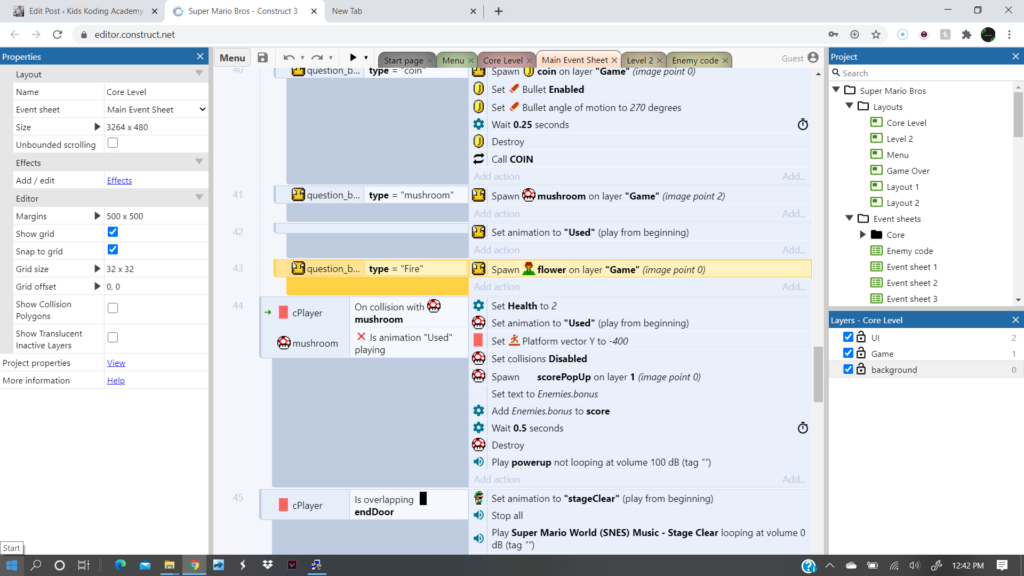
Now that we have that code Mario will not get a coin from this block and instead he will spawn a fire flower. Now that our fire flower can actually spawn we will need to give it some code. We’ll start with this piece

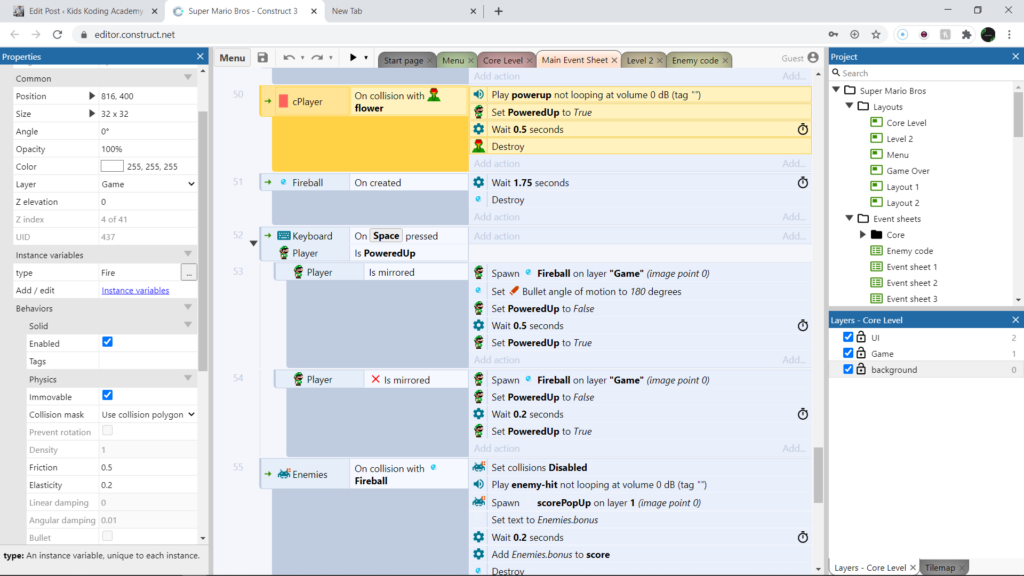
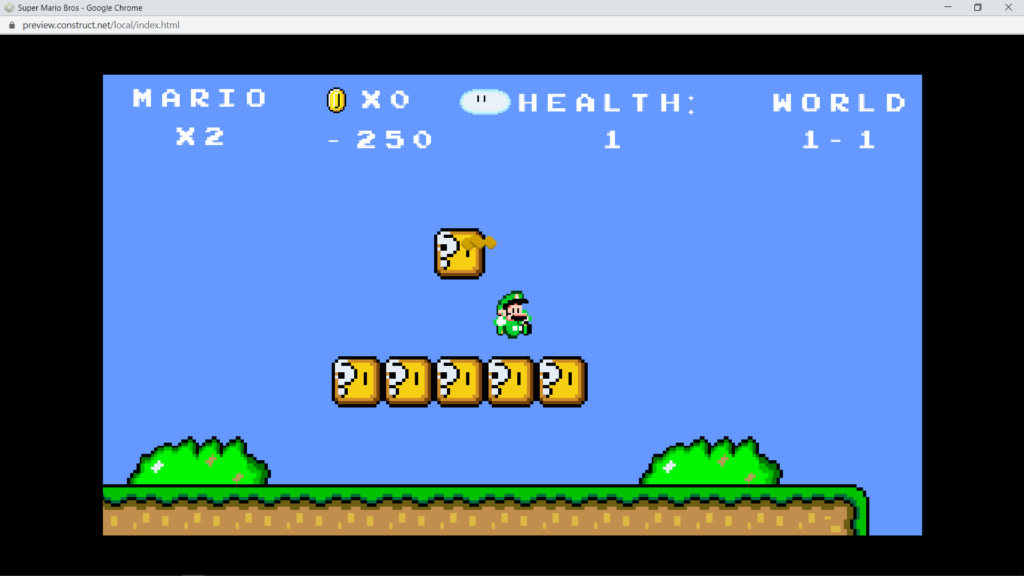
Once the flower collides with our cPlayer it will play the power up sound set Mario’s powered up variable to true and then it will wait 0.5 seconds and destroy itself. Now once we have Mario’s powered up variable set as true it means he will have the ability to shoot fireballs once we add a little bit more code. Our next step is to tell our fireball what to do. Although this may seem a little bit premature but we need to understand how our fireball will work and to do so we need to have an idea of how it will work once it is spawned. So now we know that it will spawn and then be deleted after 1.75 seconds.

Now we need to add the code to spawn it.

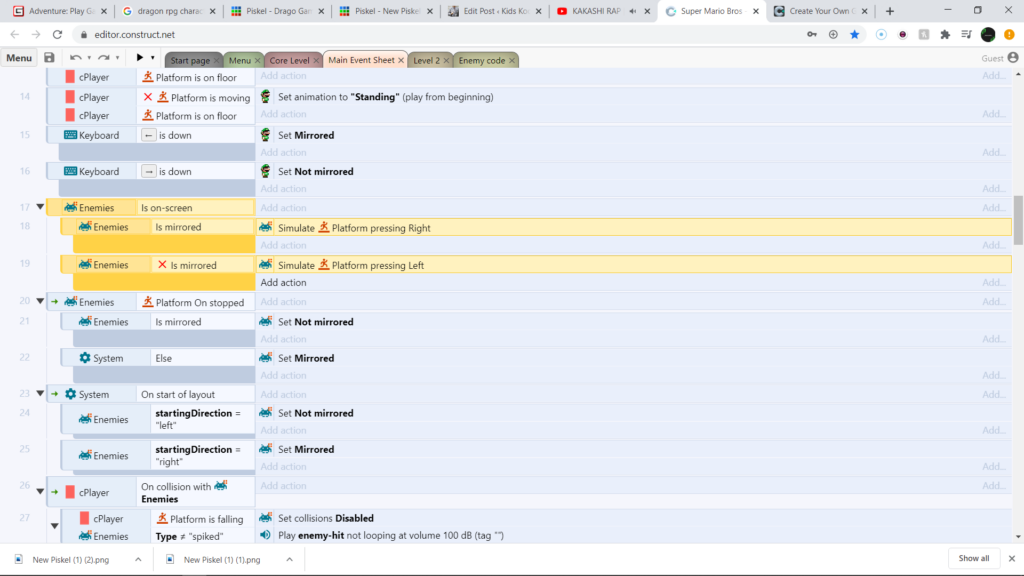
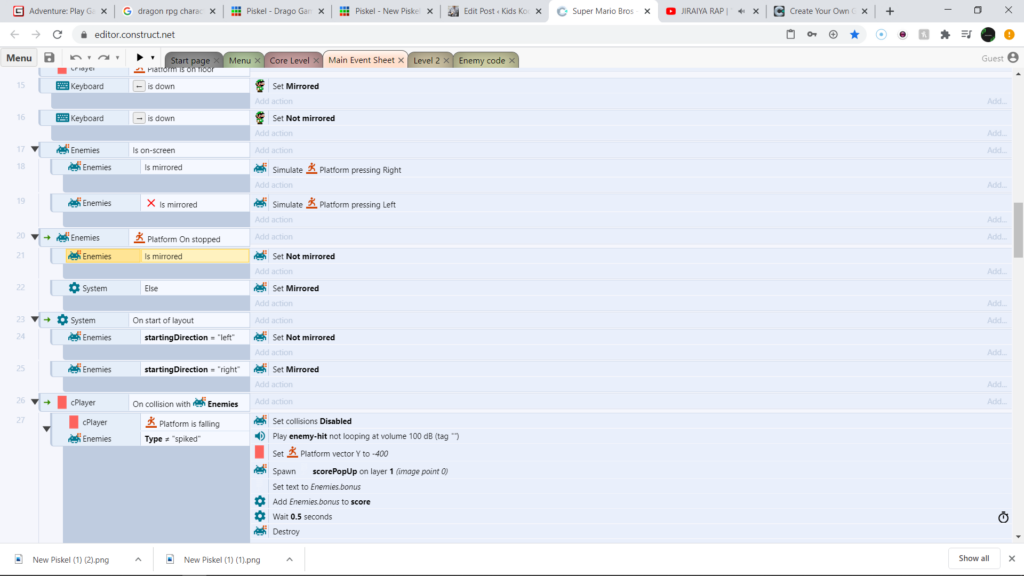
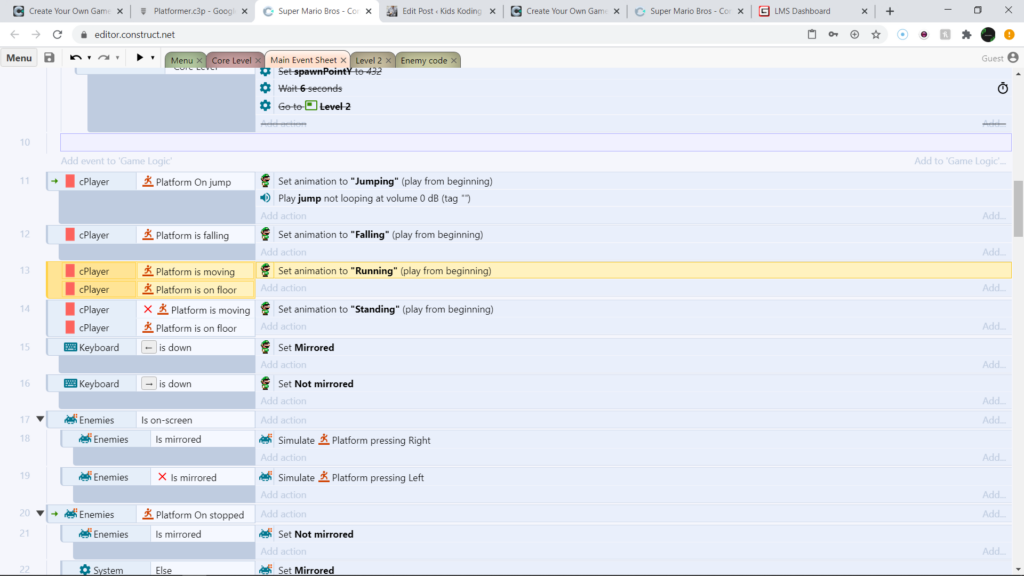
Now just as always we need to add events before we add actions so our first one will be on space key pressed and then to make sure that we don’t cheat and spawn any fireballs before we should be able to we need to ensure that powered up is true. And the only way powered up can be true is if we collect our fire flower power up. Now we need to add a subevent which will be is mirrored and then we can start adding events.

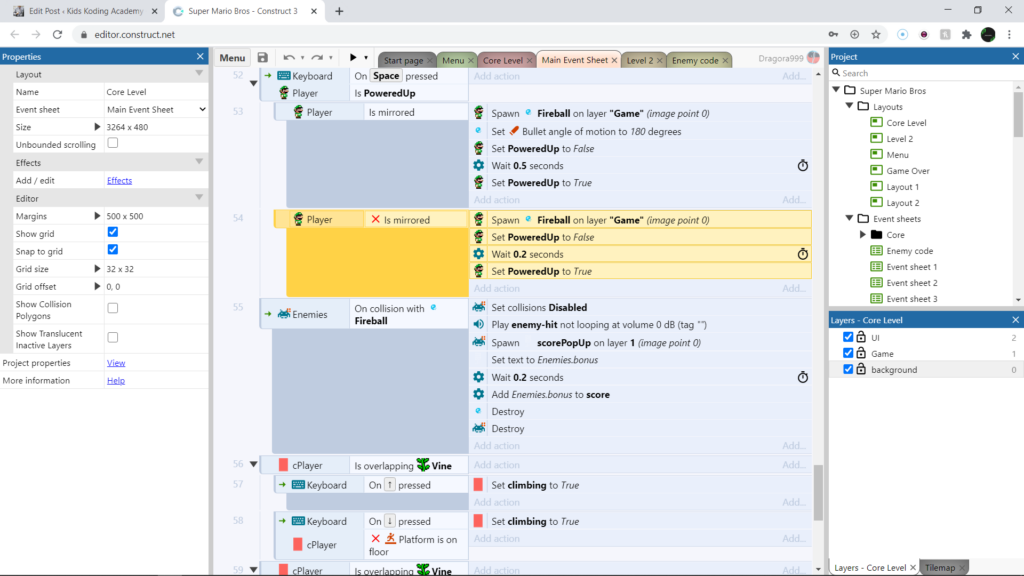
Our first event will be spawn a fireball on our game layer and we need to set the fireballs bullet angle to 180 degrees so that it spins then we set powered up to false we wait 0.5 seconds and then set it to true.

And it should look something like this:

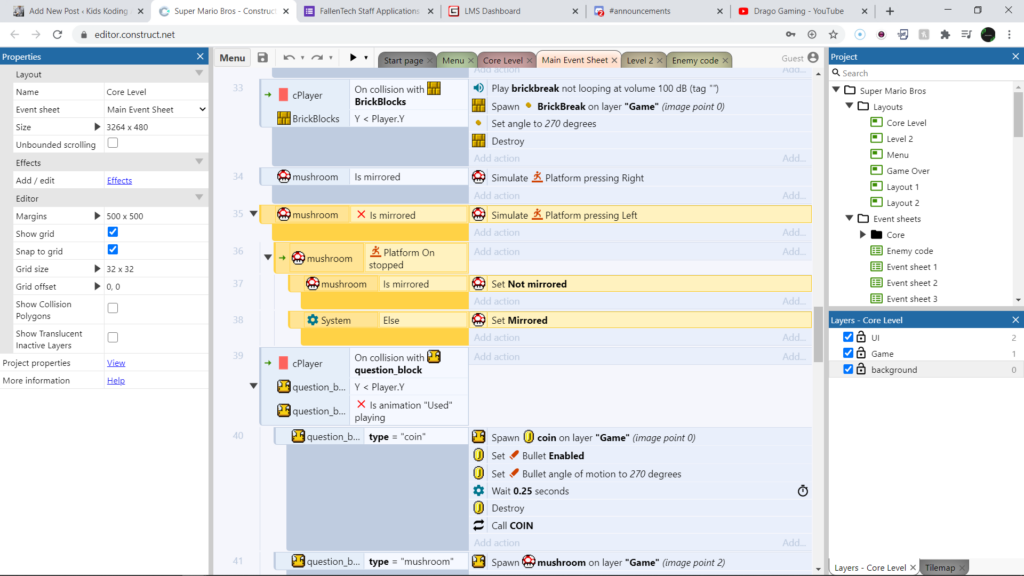
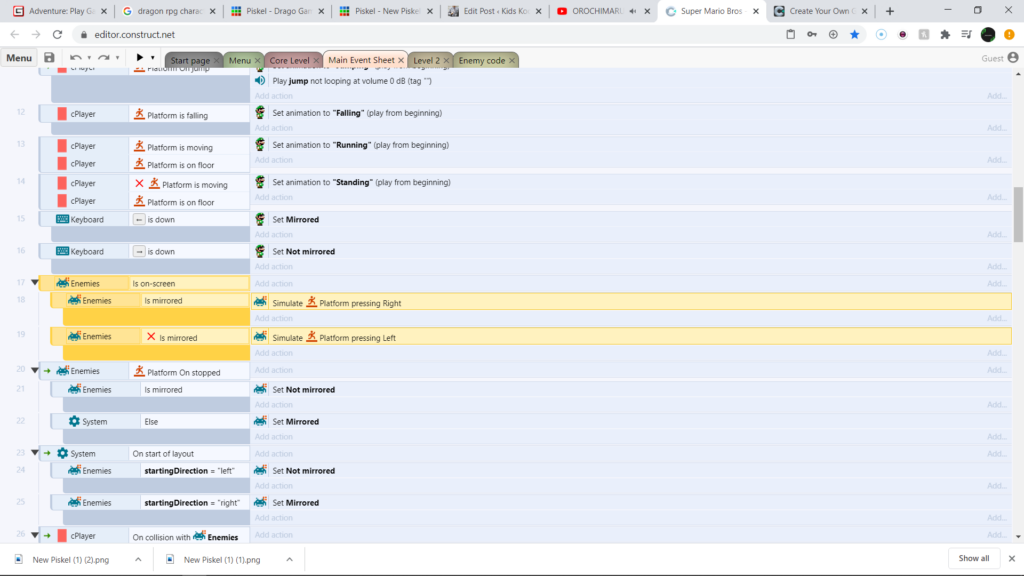
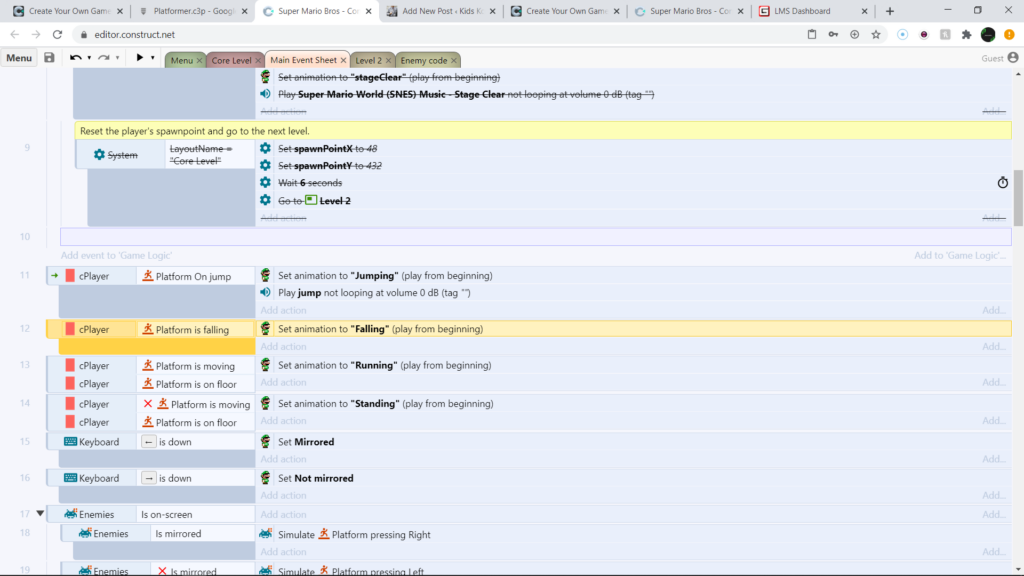
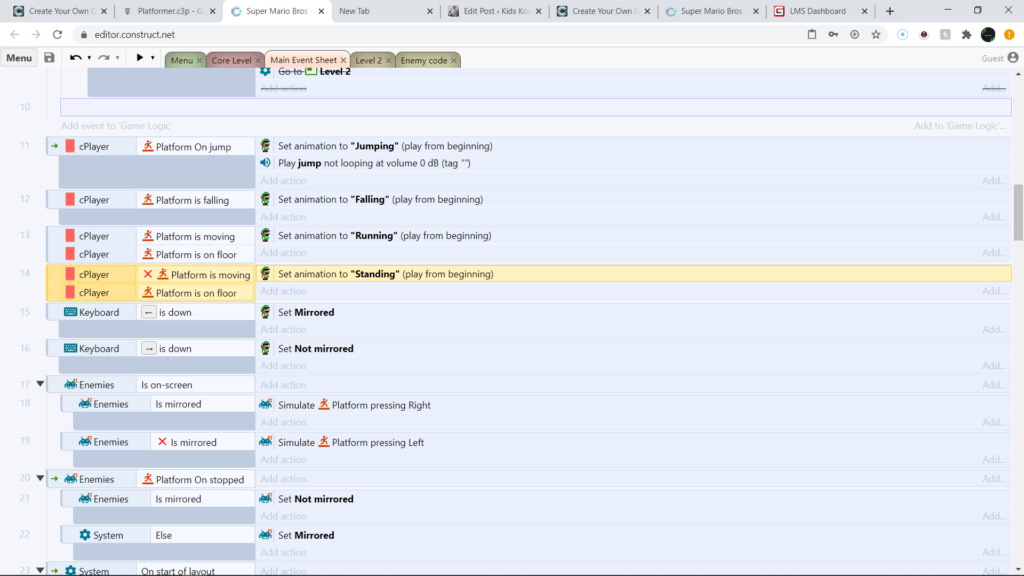
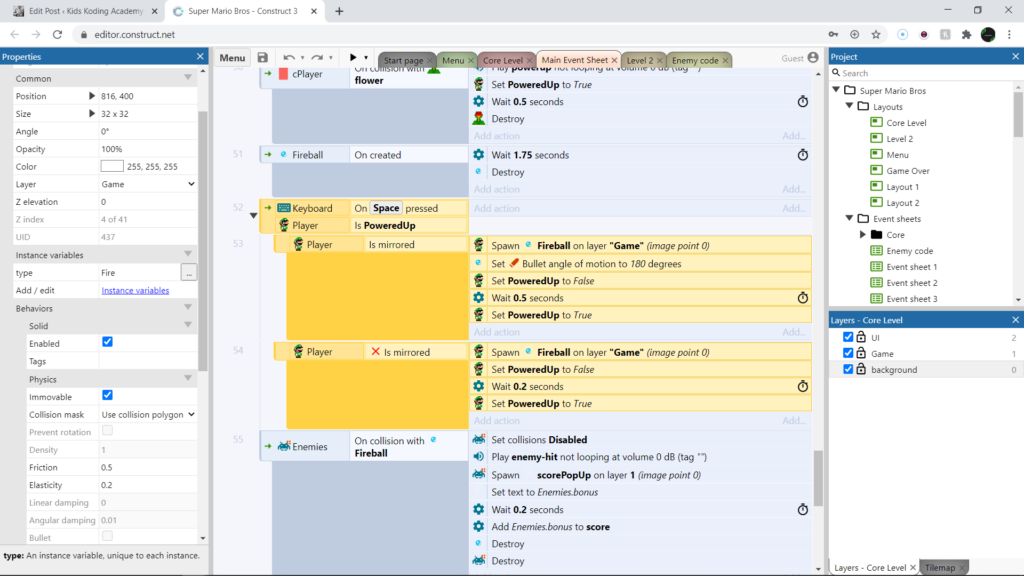
Now this is good but we still need to make it so that it looks like this when our game is mirrored as well otherwise it will look strange. To do that we will use this code.

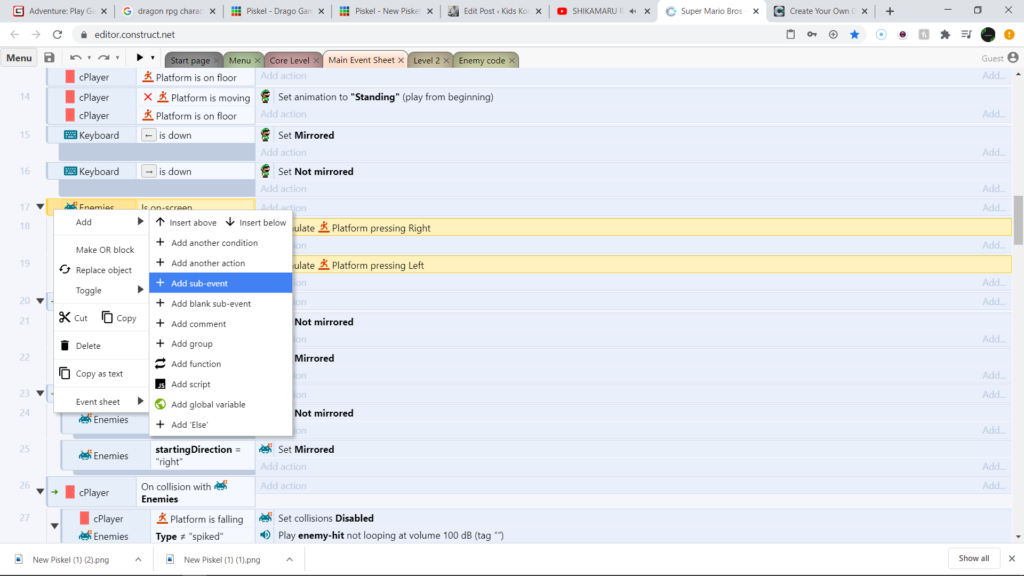
So with this we will simply add another is mirrored and invert it using the “i” key also make sure when using this only have the actual aevnet selected like this

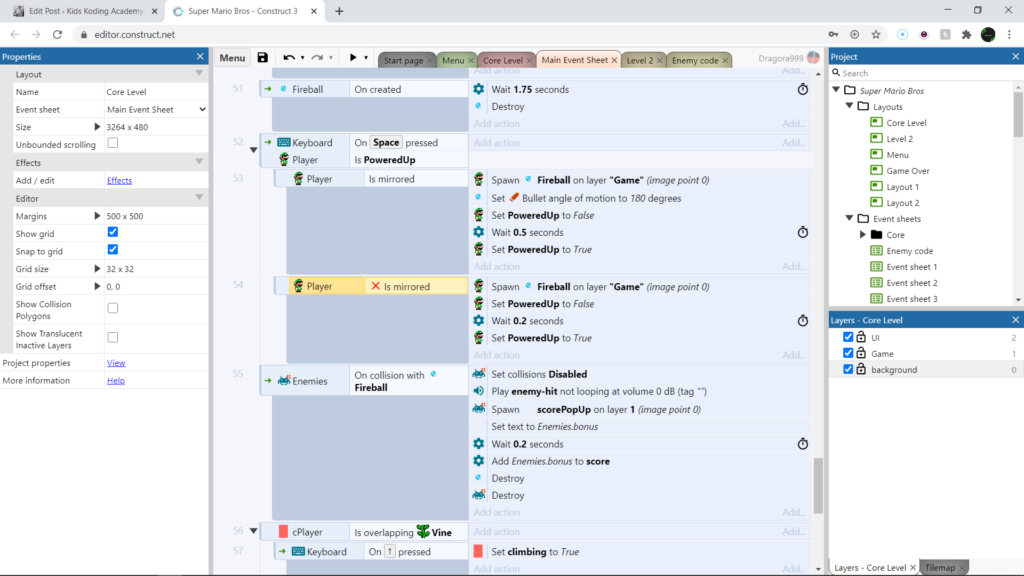
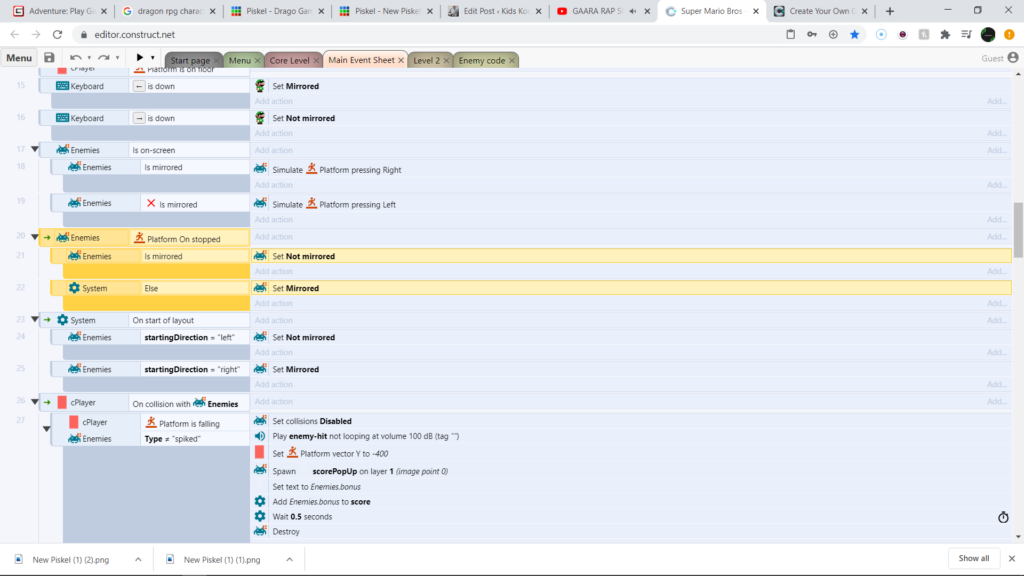
otherwise the “i” key wont do anything. But now lets start with the code, it’s pretty simple as we just need to spawn our fireball on our game layer next we need to set poweredup to false wait 0.2 seconds and set it to true.And then when we face the other direction our fireball should look like this.

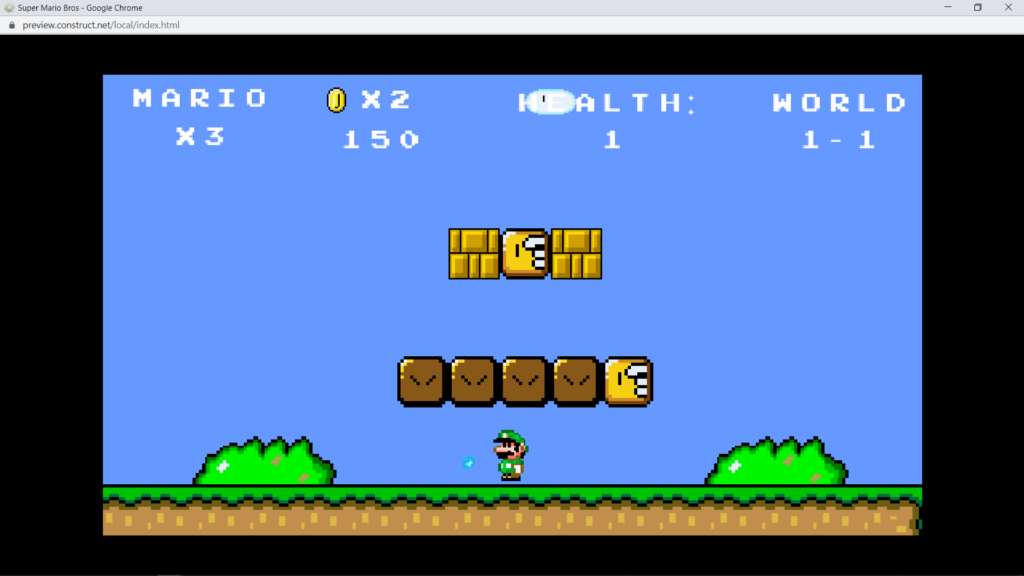
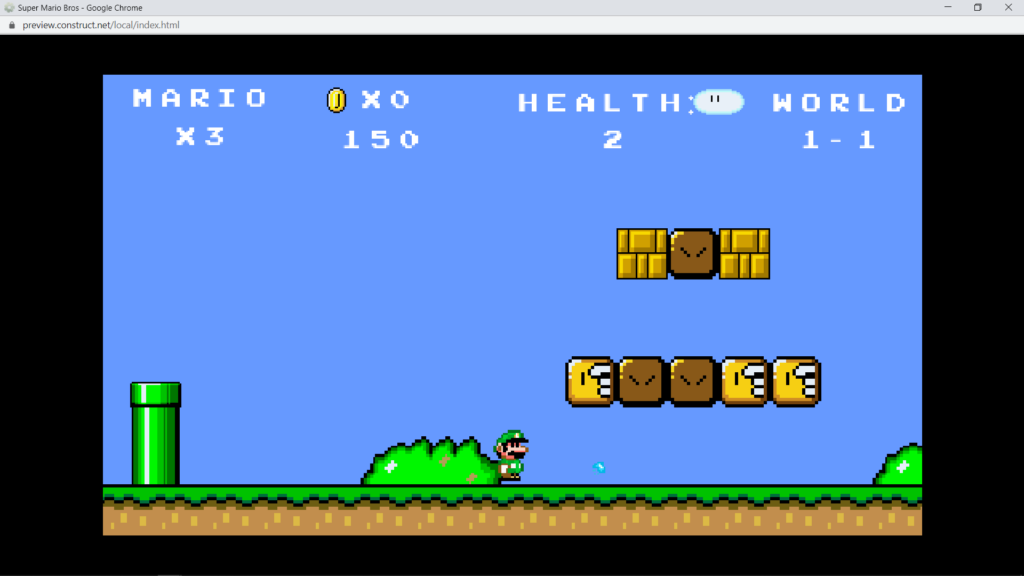
And with that our code for today is done and ourfireaball and fireflower are looking great.

Thanks for reading this blog and be sure to check out my Yt channel @Drago Gaming Link: https://www.youtube.com/channel/UCrlNUqQVBxLIbdltHQBdcYg?view_as=subscriber

And thanks to Raymond Roque and Gamegen for help with this project without them this wouldn’t have been possible.

How I made MARIO in Construct V3 Pt.8 (Mushroom pt.2)

In my last blog post we added a mushroom powerup and we made it possible to hit question blocks that drop coins. And in this blog I’ll be making it so that our mushroom powerup actually does something and I’ll be adding a powerup that allows Mario to shoot fireballs. But without any further ado lets get started.

So first we need to make it so that when our player runs into our mushroom it actually does something. To do that we will use this code.

As always before we do anything but we need to add an event that will trigger the actions and our events will be cPlayer on collision with mushroom and animation used is not playing. Now the second event/second condition will make sense once we add the events so lets start by setting Mario’s health to 2 next we will play animation used this way we cannot keep adding health or other abilities to Mario. Next just as we did with the enemies hitting our mushroom will throw Mario up in the air. And to make it so that our mushroom falls through the platform we will make its collisions disabled. Now we want to test our code before we continue.

So it should look like this ingame

So now we know our code works and we can add more to it.

Now we need to add some score when we hit the mushroom so we need to have it spawn a score pop up and then we have to set that pop ups text to enemies.bonus. And then we need to add Enemies.bonus to our score then we will wait 0.5 seconds and delete our mushroom.

Thank you all fro reading this blog I hope you enjoyed. check out my yt channel @Drago Gaming link : https://www.youtube.com/channel/UCrlNUqQVBxLIbdltHQBdcYg?view_as=subscriber

Also huge shout out to Raymond Roque at gamegen for lots of help with this game thanks for your help.

How I made MARIO in Construct V3 Pt.7 (Mushroom Powerup and Question Blocks)

In this blog we will be adding a Mushroom power up and question blocks with mystery rewards. So let’s get started.

We will first start with our mushroom code

So first we will see if the mushroom is mirrored and if so then we will have it move right. So now our mushroom will move once it is spawned in but that movement will not happen quite yet as he is not being spawned in yet.

Now we see if the mushroom is un-mirrored then we will make it go left. After this we will add a sub event which checks and sees if the mushroom is stopped and if so it checks if it is mirrored. If it is mirrored it will set it non mirrored and go the other way. And if it is not mirrored it will become mirrored and move the other way. But I think I mentioned this in an earlier blog do not add another line of code after “Mushroom is mirrored” Simply hit “x” on your keyboard while clicking on mushroom is mirrored code. Then add the set mirrored code instead of wasting time doing it manually.

But before we can show what the mushroom would look like moving we first have to spawn it and to do this we will add question block code. Which will allow us to spawn not only more coins but also a Mushroom power up.

So lets get started.

To start we will add a collision detection between our cPlayer and the question block. But we don’t want it to break just on contact with the question block we have to make sure it only happens when Mario hits it with his head when he jumps. The next condition is slightly weird but it will make more sense a little bit later but it is “animation used not playing” this ensures that you can only hit each question block once. Now we will add our first sub condition which is question block type = coin. Next we will spawn a coin on our question block and then we reuse the coin code from yesterdays blog which I don’t think I’ll repeat as I talked about yesterday in depth so if you haven’t read that blog check it out.

But here’s where it gets interesting now we need to add another sub event to our main set of events and this will check if the type of question block is mushroom and there is one in the center at the top.

And once it Mario collides with the middle top question block the mushroom will start moving as soon as it is spawned. It should look like this

Thats gonna be it for this blog thank you all for reading I hope you enjoyed check out my YT channel @Drago Gaming link: https://www.youtube.com/channel/UCrlNUqQVBxLIbdltHQBdcYg?view_as=subscriber

How I made MARIO in Construct V3 Pt.6 (Getting rich with coins and breaking blocks)

As you can probably tell from the title in this blog we will be making it so that Mario will be able to collect coins and this will also add to his score. So lets get started

Obviously we need to start with an event and that will be” cPlayer on collision with coin” we will then add some actions these will be as follows set bullet enabled for our coin, set bullet angle to 270 degrees, wait 0.25 seconds , then destroy the coin, and call function COIN.

Next we will need to add code for our COIN Function and it’ll look somethign like this.

Now our first step is to play the sound that way we make it a little bit more obvious we collected the coin next we will set our text which will be x coins and then we will add 50 to score for each coin and 1 to coins

For our final portion of this blog we will be creating code for Mario to break blocks on the map. It is pretty easy first we need to add 2 events cplayer collision with bricks and Y < Player Y and this will allow us to break the bricks once our head hits them.

Now since we want it to be cool and detailed we will once again add sounds. After we add our brick break sound we will spawn a broken brick ontop of the real brick as soon as it breaks. We will set the angle of the broken brick and then we will destroy the real brick and it should look something like this.

First the brick is broken then the little brick shards fall off the screen.

Thank you all for reading this blog I hope you enjoyed. check out my YT channel @Drago Gaming link: https://www.youtube.com/channel/UCrlNUqQVBxLIbdltHQBdcYg?view_as=subscriber

How I made MARIO in Construct V3 Pt.5 (Enemies die)

In this blog we will add on to our last blog as now enemies will move and they will hurt us so without further delay lets get into it.

To start we will need to add an event.

Now I know this probably looks intimidating but is pretty simple and I will explain how it works. First we add our event cplayer on collision with enemies and instead of adding an action we will add a subevent. cplayer platform is falling and then we add another condition enemies type does not equal spiked. Because obviously you cannot jump on spiked enemies. Then we will need to add a whole bunch of events.

Our first event is set collisions disabled which may sound weird but it makes the enemies death more satisfying. Then we play the enemy hit sound, next we set cplayer to -400y which actually is pretty high up in the air. Now this is where it satrts to get a little tricky. First we need to spawn another object on top of our enemies which is our score popup text. Then we need to set that text to Enemies.bonus.

After that we need to add Enemies.bonus to our score and finally we need to wait 0.5 seconds and then we will destroy our enemies and when an enemy dies it should look similar to this.

Enemy dying

As you can see our enemy has died, we have gained 100 points and since we set collisions disabled our enemy fell through the ground.

Thank you all fro reading sorry this was a short post check out my yt @Drago Gaming link: https://www.youtube.com/channel/UCrlNUqQVBxLIbdltHQBdcYg?view_as=subscriber

How I made MARIO in Construct V3 Pt.4 (The Enemies come to life)

In my last blog I went over the players movement but I forgot to add 2 things. Which is mirroring which makes the player look normal when he faces the other way other wise when he moves backward he is still looking forward. So to do this we will need these two pieces of code.

That way when left arrow key is pressed he is mirrored and when right arrow key is pressed he will be un-mirrored. And in game it will look like this.

This would be the running animation but I could not take a screenshot and move the player at the same time so it is just standing sorry. (Mirrored standing animation)

And this would be how it looks Un-mirrored

Un-Mirrored standing animation

So now whichever way the player is going he looks that way. Now that that’s out of the way lets get started with the Enemies movement.

The first thing e need to do is ensure the enemies only start moving once we can see them as that is how the enemies moved in the original Mario game so we want to mimic that. And luckily this very easy with construct.

Code for enemies movement

This is extremely important code that can be messed up very easily. So first we add the event “enemies is on screen”. Next we right click on this event like this.

Once you have right-clicked on the event it should show add then hover over it and once it shows up click on add sub event. This will cause the next piece of code to basically be indented which allows another event to go below it as a sub event.

This sub event will be “enemies is mirrored” and the action will be “simulate platform pressing right”. Once this is done we will need to add another sub event which will be “Enemies X is mirrored”. Which if you remember from I believe my last post the big red X in front of the code means it is inverted. The action will be “simulate platform pressing left”. This will make it so that when the player sees the enemies they will start moving but if they run into something they will stop. This is where our next piece of code comes in handy.

Just in case you needed a visual aid this is what the code should look like.

Our next Piece of code will also use sub events and a new type of code but we’ll get to that in a second first I’ll show you what the code looks like.

This code will allow the enemies to change direction when they are stopped. So first off we need to dd our main code piece which is “Enemies Platform on stopped”. From there we will need to add a sub event not 2 this time. Our sub envent will be “Enemies is mirrored” and the action will be “set Not mirrored”. But now instead of wasting lots of time and energy adding another sub event simply click on the “Enemies is mirrored” code. Like this

Then hit “x” on your keyboard and it will add a “System else” code and then you add a set “mirrored action” and thats it. I’ll show you what it should look like.

Thank you for reading this blog check out my Yt channel @Drago Gaming link: https://www.youtube.com/channel/UCrlNUqQVBxLIbdltHQBdcYg?view_as=subscriber

And as always with this set of blogs Huge thanks and shoutout to Gamegen and Raymond Roque for all their help with this difficult project without your help I would have had a really hard time completing this project so thanks so much.

How I made MARIO in Construct V3 Pt.3 (Player Running, jumping, and falling animations.)

In my last blog I went over how to make the cPlayer invisible and how to add a spawn point for Luigi. In this blog I we will be adding a running, jumping, and falling animation. If you didn’t get the link earlier to download the “starter pack” I made the link is right here : https://drive.google.com/file/d/0B4T03AITeoiuWUF4MTROOU1mS2c/view

Once you get the file you can simply upload it to construct and you will not have to ad as many basic things but with that out of the way lets get started.

In this picture we only want to focus on the highlighted yellow code which is for Marios jump. It will set his animation to jumping and it will play the jumping sound once the now invisible cPlayer jumps. It will look something like this.

Player Mid Jump

There is one problem with this however, and that is that once Luigi starts falling he will still be in the regular Luigi animation because we have not added a falling animation yet.

Now we will use the above highlighted code to make our player appear as if he is falling. With his falling animation and it should look something like this in game.

Player falling

But the problem with this is once he hit the ground he thinks that he is still falling because we haven’t told him to stop falling. And the only reason he stopped jumping was because we added the falling animation.

Our next piece of code will tell him to stop falling once he hits the ground.

This code needs 2 verifications to allow him to run. He must be on the ground and he must be moving this will activate the running animation for your player and it should look like this.

Running animation

So when our player is moving he will look like this although this does not fix our problem because he will still be falling when he hits the ground. For this code to work he also has to be moving. So we have to add standing code that overrides our falling code.

Standing Code

And with this our player will not continue falling when he hits the ground he will stop. Also just in case you dont know if you want to cause that big x infront of any code that means that code is inverted and to do that simply click on the code/highlight it and hit “i” on your keyboard.

Thats going to be it for this blog post I hope you enjoyed thanks for reading and check out my YT channel @Drago Gaming link: https://www.youtube.com/channel/UCrlNUqQVBxLIbdltHQBdcYg?view_as=subscriber

How I made MARIO in Construct V3 Pt. 2 (Hiding the cPlayer and Adding Luigi’s spawn point)

Yesterday I made the first part of this blog series and I went over how I made my Mario games main character Luigi interesting twist right? And I also went over how I created the background for the game by just make sprites and then duplicating and placing them. But enough about my last blog time for this one.

So first of all we need to start adding some basic things to our game like Luigi’s spawn point because right now he just starts at a random spot on the map floating in the air so Ill show you what code I used for this.

Code for Luigi’s Spawn point along with other variables

So first off you can see I have a lot of global numbers/variables and it may look quite intimidating but it is quite easy to add these. The main ones to focus on right now are spawnPointY and spawnPointX which obviously are the spot on the map where we want mario to spawn. Now If you just added these variables Luigi still wouldn’t spawn there. Because we have no code telling him what these numbers mean. But the blue code below it explains what Luigi will do. But it is crucial that you add this code for the cPlayer and not Luigi because Luigi is basically the skin and the cPlayer is the actual character. and once you have tat done your game should look like this.

In construct hit the play button and it will open your game and show you what it actually looks like. And I know that this is actually Mario and not Luigi. Because I had to open a plain Mario for this image as my actual game actually has animated characters and more importantly enemies.

So your game should look something like this except obviously with your character which could look like what ever you want. But now that we have our character spawn in the right spot we need to make the red box AKA the cPlayer invisible. This is very simple as all you need to do is click on the cPlayer

Then scroll down to where it says initially visible

In the bottom left hand side of the picture

And make the check mark go away by clicking it and the cplayer will be invisible

No More cPlayer!!!

And the cPlayer Disappears

Thank you all for reading this blog post check out my YT channel Link:https://www.youtube.com/channel/UCrlNUqQVBxLIbdltHQBdcYg?view_as=subscriber

Once again Special thanks to Raymond Roque and Gamegen for their help with this project and check out Ray on itch.io where he makes awesome games also if you want to have a headstart click this link and down load this project that way you have less code to add. https://drive.google.com/file/d/0B4T03AITeoiuWUF4MTROOU1mS2c/view

How I created MARIO with construct V3 (Sprites and Background design)

Today I will be writing I created Mario in construct engine v3. Construct is a much much better version of scratch that is free to use and it can be used to makes games similarly to scratch although it is a little more complicated.

So first off I need to make my character so I will begin drawing him and I will make multiple verisons of him for the animations I need to create.

This is the Luigi Character I drew but it is a little blurry but that is only because I copied it and then pasted it onto this blog post other wise it is much clearer. Next I will need to add all the other animated images of Luigi.

Running animation
Jumping animation
Climbing Animation
Falling Animation
Death Animation
Menu animation

Thats it for the animations and I will string these all together later in the game but first we need to establish a background for our character to move and interact with like the one below.

This was the background but it was too long so I had to split it into 3 images. I designed this background with a bunch of sprites but it was quite simple although since I had to do so many it took a little while.

Thank you all for reading my blog check out my YT channel Link: https://www.youtube.com/channel/UCrlNUqQVBxLIbdltHQBdcYg?view_as=subscriber Also another important thing this was a difficult thing for me to do so it was my first project with help so I would like to give a huge shout out to my teacher/friend who introduced me to construct Raymond Roque from game gen I recommend you check him out on itch.io where he has many cool projects. Thanks soooo much Ray.

How Game Creators make money (Non Pay to win game creators)

In light of the recent release of Valorant I bet many people across the globe are wondering how they make money because the game itself is free. And not just Valorant there are tons of video games that are free that make millions or even 10’s or 100’s of millions each year despite them being free. Keep reading to see all the strategies that developers use to make money through their free games.

1. In game purchases

This is a very common thing to see in video games and in particular free games. These purchases help you boost yourself to either do better or they can make the game easier. This is especially evident in Valorant where many players buy skins that improve the look of their weapons and these skins can cost anywhere from 5$ to about 25$

ELDERFLAME Collection Showcase | VALORANT Ultra Edition Skins ...
Elderflame skin pack valorant (Basically makes your guns animated dragons)

This skin pack cost is 95$ and it comes with 5 skins. The skins are for the following guns: The vandal, The operator, The judge, The frenzy, and the Knife. These skins are amazing animated dragons (I wish I could have bought them ngl) But they are wayyy to expensive for the average consumer because most players wont spend almost 100$ on just some skins. But there are people who will buy these skins because of how amazing they look despite the cost.

2. Advertising and sponsorships

Now this may sound a little weird that the devs paying streamers would be counter productive seeing as they would be loosing money. But the thing is when streamers endorse your game they will get more people want to play the game. Also you can give them free skins which costs you nothing and it helps encourage people to buy skins because their favorite streamer is using it.

Thanks for reading this blog Pt.2 will be coming out tomorrow I hope you enjoyed chekc out my YT channel @Drago Gaming link: https://www.youtube.com/channel/UCrlNUqQVBxLIbdltHQBdcYg?view_as=subscriber