Today I will be writing I created Mario in construct engine v3. Construct is a much much better version of scratch that is free to use and it can be used to makes games similarly to scratch although it is a little more complicated.
So first off I need to make my character so I will begin drawing him and I will make multiple verisons of him for the animations I need to create.

This is the Luigi Character I drew but it is a little blurry but that is only because I copied it and then pasted it onto this blog post other wise it is much clearer. Next I will need to add all the other animated images of Luigi.


Thats it for the animations and I will string these all together later in the game but first we need to establish a background for our character to move and interact with like the one below.
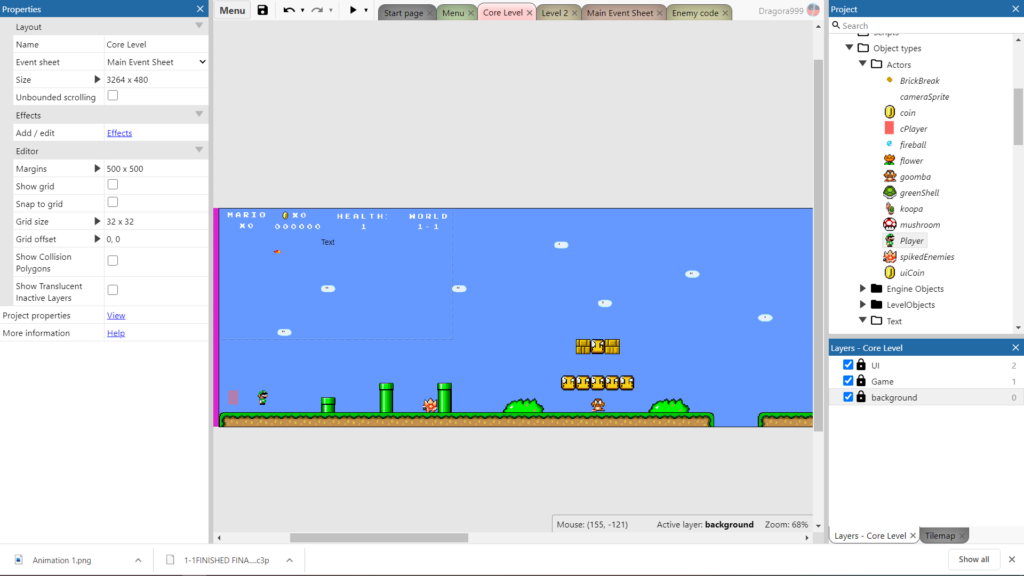
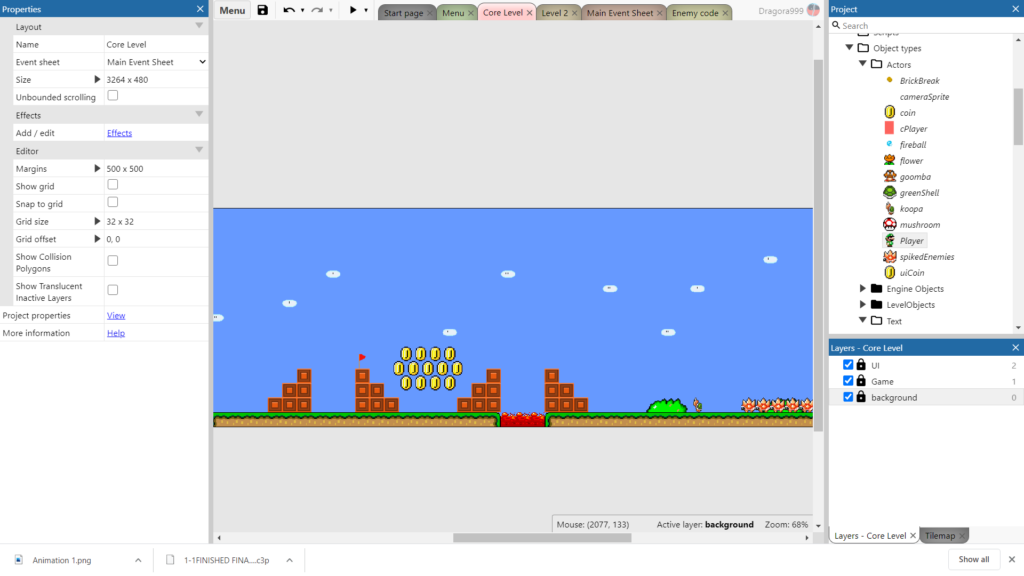
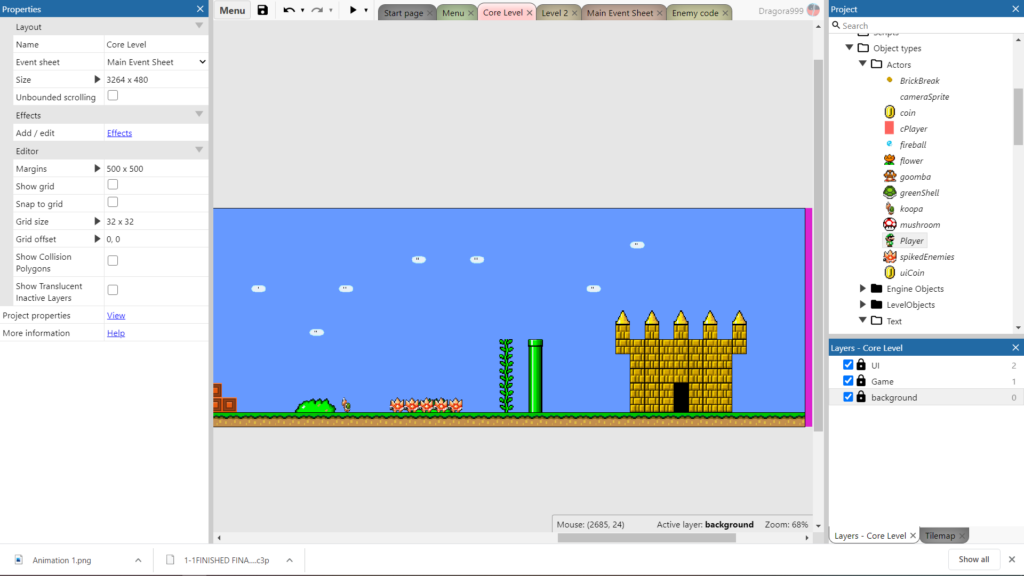
This was the background but it was too long so I had to split it into 3 images. I designed this background with a bunch of sprites but it was quite simple although since I had to do so many it took a little while.
Thank you all for reading my blog check out my YT channel Link: https://www.youtube.com/channel/UCrlNUqQVBxLIbdltHQBdcYg?view_as=subscriber Also another important thing this was a difficult thing for me to do so it was my first project with help so I would like to give a huge shout out to my teacher/friend who introduced me to construct Raymond Roque from game gen I recommend you check him out on itch.io where he has many cool projects. Thanks soooo much Ray.
fantastic as well as incredible blog. I actually want to
thanks, for giving us far better info.