Best OBS settings for high quality streaming.

So as you probably know by now I have a yt channel and I stream on it 3-5 times a week and I use obs on my laptop to record this gameplay.

Obs is quite simple to use and I’m going to go over what stream settings I use to get good quality video recordings as well as good quality streaming

First off you need to the maximum they can be then for you stream you want them to be 1 or 2 settings lower so that they will have a better fps and it will also guarantee good frames as opposed to no guarantee of amazing frames.

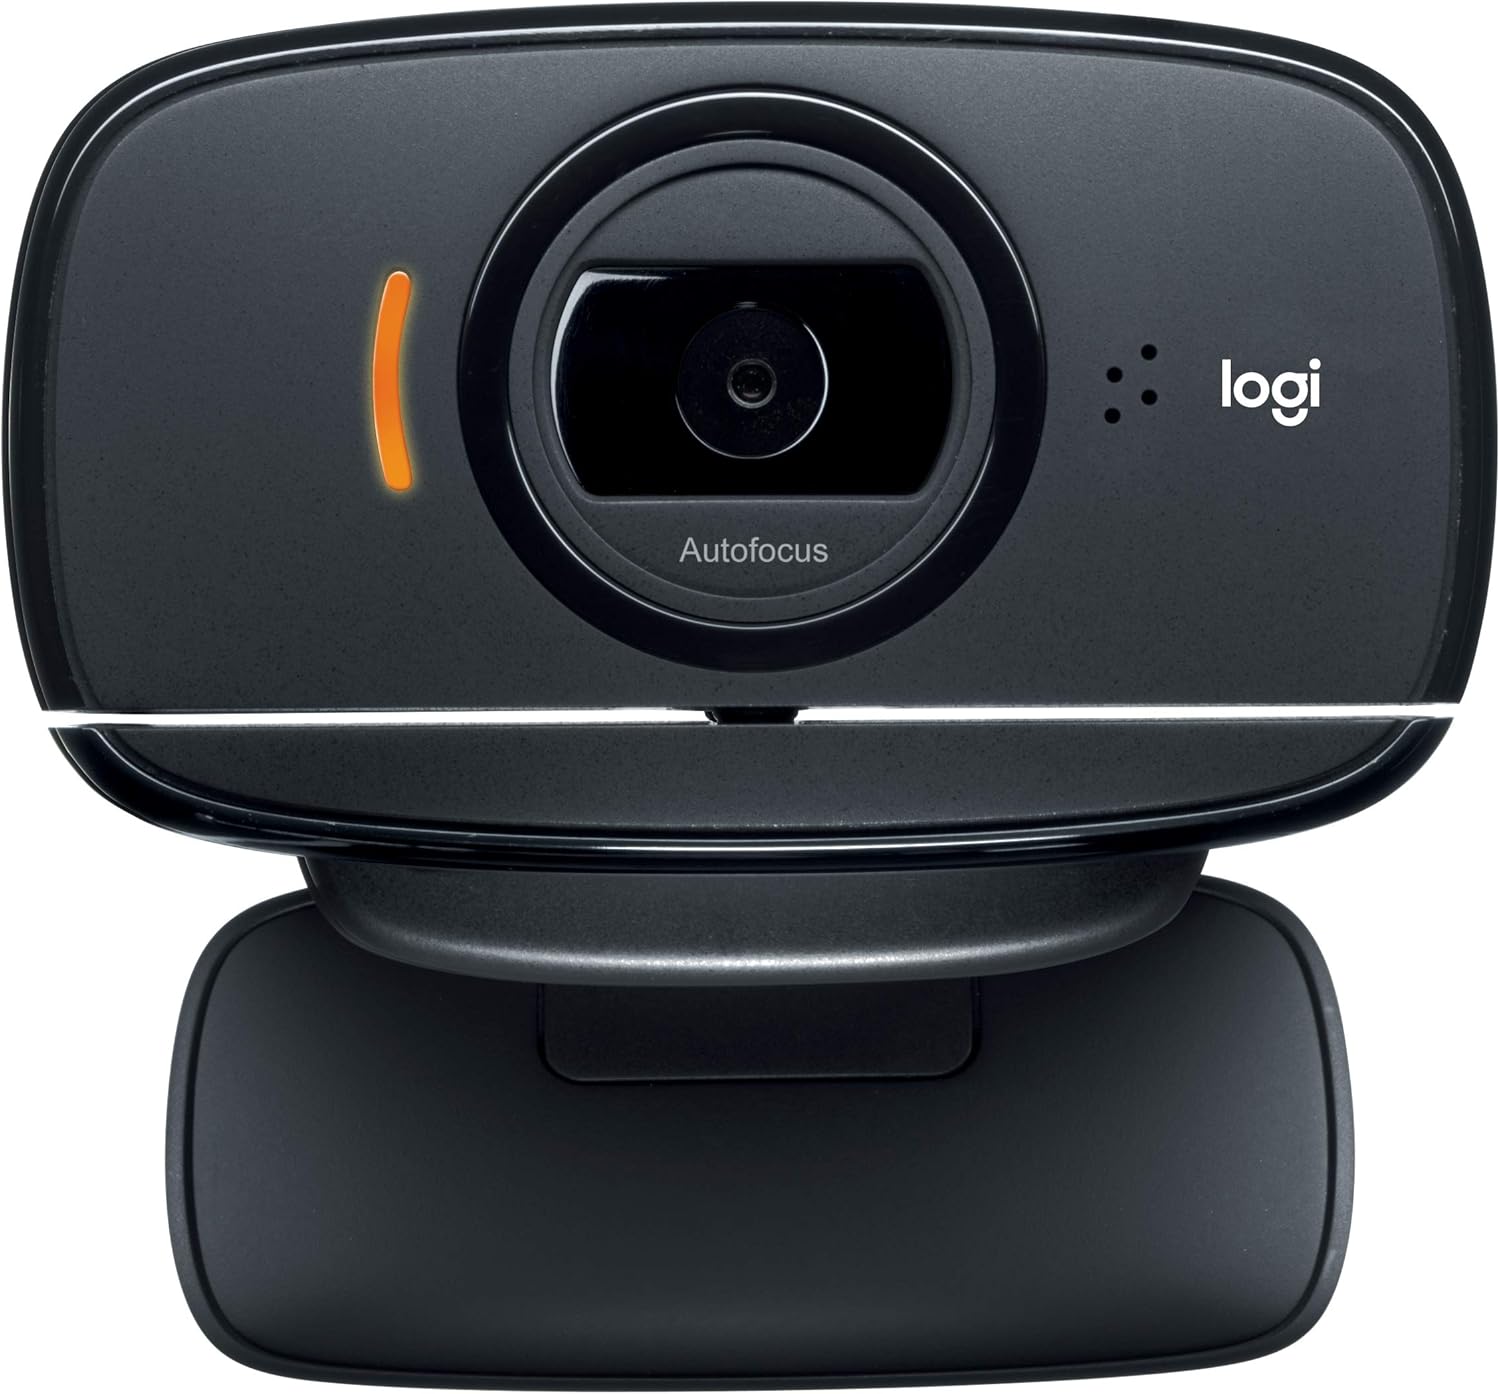
After that if you have a webcam you need to make sure that you activate/deactivate it on obs otherwise it will always be running or it wont be running at all which for obvious reasons is bad. Also make sure to light up the space/object that your webcam si recording other wise it will appear really dark

Example:

dark
light

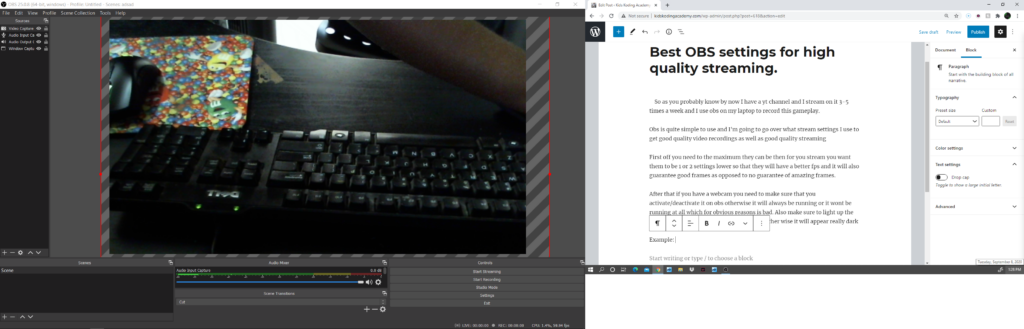
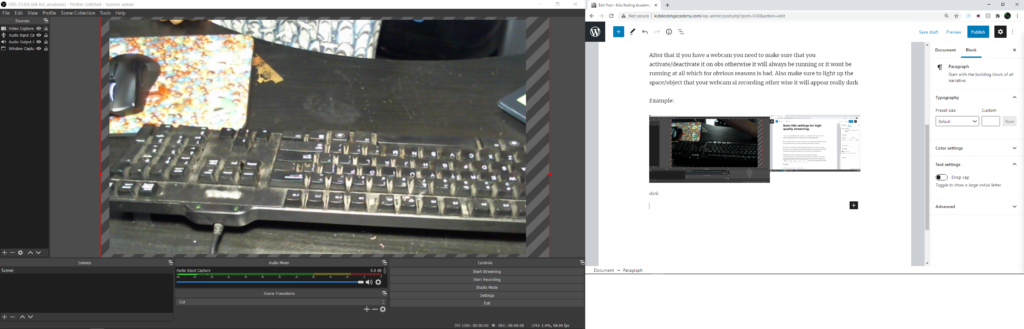
as you can see just the light from one lamp can make it a much clearer view for your audience and it is totally worth it as this ikea light i got is only about 15$ but it makes it look like I have professional setup with a ring light that costs like 100$.

Although if you have an rgb keyboard you will not need as direct light as it will look weird in the webcam if it is reflecting onto the already brightly lit keyboard so make sure to keep that in mind.

My final OBS tips/settings are as long as you have a decent PC make sure you have a bit rate above 4500 as any lower and it will be laggy and slow. also you don’t really want to do 60+ fps I personally go for 59.94 but over 6o I would only recommend for a decent PC. And also make sure that when you are streaming if you are using a hand cam you want to make sure vit is active it can become inactive occasionally so if you have more than 1 monitor make sure obs is running smoothly on 1 and that the game is running well on the other that way you will know if any malfunctions happen.

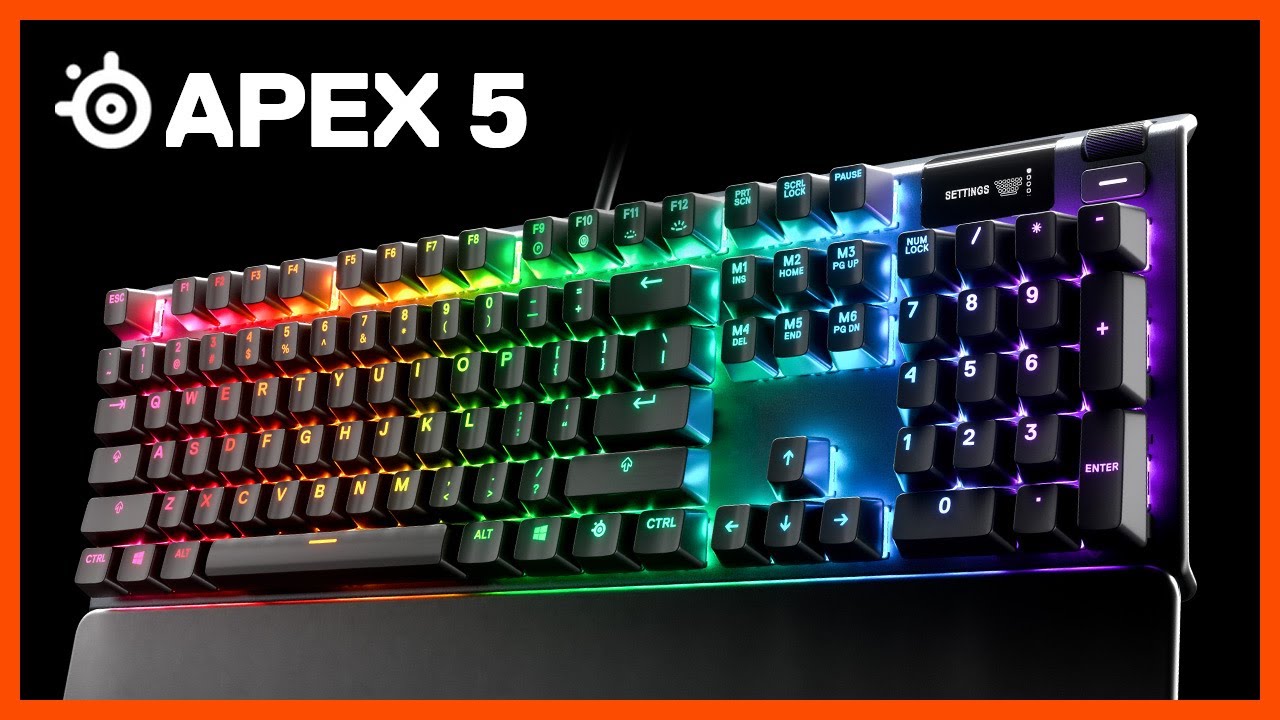
Thank you all for reading my blog post and Check out my YT channel I will be streaming there tonight at 7:00 pm PST and I might be unboxing my new steelseries apex 5 keyboard. link: https://www.youtube.com/channel/UCrlNUqQVBxLIbdltHQBdcYg?view_as=subscriber

Review of the Steel Series Apex 5 hybrid

Now as you may or may not know Steelseries pretty recently made a new type of keyboard with mechanical switches that had a rubber backing for less impact on your fingers when you press down on your keys. and I recently was in need of a keyboard for my gaming set up so I decided to get this keyboard. And I know in my previous blog post I said that the best keyboard was the Razer cynosa V2. But I did not get this keyboard for 2 reasons. First it only has partial mechanical switches as they are made out of membrane secondly the quality and performance pales in comparison to the apex 5 and I’ll be getting into why shortly.

Apex 5: Hybrid Mechanical SteelSeries Keyboard - YouTube
Steelseires Apex 5 Hybrid

VS

Chroma RGB Backlit Keyboard - Razer Cynosa V2
Razer Cynosa v2

But before I elaborate on the main differences between the two keyboards first ill go over some more basic things like cost. The cost of the apex 5 is considerably higher than that of the Razer Cynosa as it is 100$ (USD) compared to the 60$ (USD) Cynosa but this increased price is definitely for multiple good reasons.

Now that we have gone over the cost difference between these keyboards lets dive a little deeper into their more important differences We’ll start with pros of the apex 5. Firstly the Steelseries Apex 5 is made out of high grade aluminum making it more durable and reliable. Next it has an OLED Hud (heads up display) that allows you to see what music you might be playing or it can play gif’s which you can watch while you type or game. It also has a magnetic wrist rest so it is easier to game for longer periods of time with out injuring your wrists. This is a pretty important feature as a razer wrist rest can cost you anywhere from 20-35$ depending on which version you buy. Finally the Apex 5 has a hybrid custom version of the cherry MX blues that was created by steelseries these switches are nice and tactile but they have a rubber backing making them not too loud but still nice and audible while playing or streaming.

Apex 5 | SteelSeries
unfortunately the rubber backing is hard to see but it is just below the spring of the switch

Now that we have gone over the pros of the apex 5 lets go over the pros of the cynosa v2. To start it is definetly a more affordable option at 60 dollars. It also has membrane switches that are not mechanical so if you want a quiter keyboard this is the way to go. Also the cynosa has more media buttons that include a pause/play button, a skip forward button, a skip backwards button, a mute button, and a raise and lower volume button. (The apex 5 also has a volume button but it is more of a volume scroll wheel).

Now that we have gone over the pros of both keyboards we should go over the cons. first lets start with the cynosa. The main con of this keyboard is that since it’s switches are not mechanical it has a slower response time.

And the main con of the apex 5 is its price

But all in all these are 2 excellent keyboards but they obviously are better for different purposes and budgets.

Thanks for reading this blog check out my yt channel link: https://www.youtube.com/channel/UCrlNUqQVBxLIbdltHQBdcYg?view_as=subscriber

Best accessories for a beginning gamer!

So as you probably already know I have a YouTube channel where I stream and make videos on almost everyday and as such i need to have a good setup but I cannot have one that is too expensive as I am not buying it with my own money. So I have compiled a list of some of the best accessories for a new gamer with a budget.

Mt budget for this was 300$ for all of my accessories. i.e my webcam, mouse, mouse pad, keyboard, monitor, light, cables and my speaker system.

#1 Razer cynosa v2

Chroma RGB Backlit Keyboard - Razer Cynosa V2

This keyboard is my pride and joy as it is mechanical and it has an extremely fast response time. Obviously you will need a quality keyboard if you want to play any video game as it is necessary for many things. And it has very nice rgb lights, key caps, and it is relatively cheap at 60$

#2 Razer mamba wireless

Wireless and Ergonomic Mouse for Gaming - Razer Mamba Wireless

This mouse is also from Razer. In my opinion they have the best accessories by far compared to any other brand. But i’ll go more in depth about that in another blog. The reason I love this mouse is because it has customizable rgb lights, it has up to 16,000 dpi, and the best feature this mouse has is that it can be wired or wireless depending on how you feel because you can remove or add the wire whenever you want, And it is rechargeable so no need to waste money on batteries.

#3 Logitech c525 hd webcam

Amazon.com: Logitech HD Webcam C525, Portable HD 720p Video Calling with  Autofocus - Black: Electronics

Webcams are an important part of a streamers setup as they can be used as a facecam or mouse cam depending on what the streamer wants. There are a couple beenfits to the 525 that make it an ideal webcam for people on a budget as compared to the razer kiyo which is 100 dollars the 525 is much more affordable at 60$ and although the kiyo has a light you can buy a nice ring light for about 10-15$ so the 525 is a much better budget option.

#4 Dell Monitor 20 inch (one thing is that this monitor was my dads old monitor and as such it was free so I did not include its cost in the list.)

Amazon.com: Dell E1916HV VESA Mountable 19" Screen LED-Lit Monitor,Black:  Computers & Accessories

This monitor probably costs about 100$ and my qualities 1420/880 but nowadays the monitor’s quality will likely be 1920/1080 but it is relatively cheap and it has a good refresh rate (about 100) and all in all it is a great quality monitor for its cost.

And thats basically it for my gaming setup and I hope you enjoyed this and comment down below if you want me to make lists of other good gaming equipment. Also check out my Yt channel @Drago Gaming link: https://www.youtube.com/channel/UCrlNUqQVBxLIbdltHQBdcYg?view_as=subscriber

How to make video games while only knowing little to no code.

There are many different tools that you can use nowadays to code that require little to no coding knowledge and these games can be made on almost any plat form through all sorts of different applications like scratch, core, and construct as well as many others.

So in todays post I’m going to be talking about these coding websites/apps that are easy to code games with that require very little experience.

#1 Scratch

First off we have a classic scratch this is the language/website that I used when I first created this blog and when I was in elementary school up until about the start of 6th grade. This is probably one of the best ways to start learning coding as it is simple and fun and it can be used to make amazing games. And the good thing about scratch is that it works across many different platforms via the app or www.scratch.com either way you will still be able to create great games for free with the help of all the tools and experienced coders in the scratch community. Also because scratch uses block code it is quite easy to learn and understand and all the ode blocks are fairly simple but when they are put together they can create something very complex and amazing.

Eng:Scratch Cat - Test-Scratch-Wiki

#2 Construct

Construct is a coding language I started getting into during 6th grade and I have continued experimenting with it through 7th grade and now the start of 8th grade. It is an excellent intermediate language as it uses code that is actually java script that is compact into easier to understand blocks that make up your code. This code is definitely more detailed and complicated than scratch but it can be used to create amazing games like Mario, Legend of Zelda, gran track and many other classics. It can also be utilized to make games that you can post on itch.io and steam to sell and make money off of but that requires a considerable mount of experience and time to get good enough at making games in construct to do this but with some hard work and patience it is possible.

Create Games with Construct
Construct Logo

#3 Core

Core is a more advance language that is pretty new but it can be used to make more realistic 3-d games that are similar to the ones sold in the market today. For example games like Valorant, Minecraft, Roblox, Fortnite, and Apex Legends. Also these games can be made quite simply compared to games made with other engines like unity and unreal. Also it comes with a variety of templates that are pre-made so that way you can focus on the details and core can do the heavy lifting. I plan to start exploring core this school year to learn about how it works and hopefully being able to teach you guys as well.

Manticore Games raises $30 million for new platform that 'radically'  simplifies how 3D games are made and published | MCV/DEVELOP

Thank you all for reading this blog post I hope you enjoyed. And check out my YT channel where i stream some quality minecraft and valorant gameplay. link: https://www.youtube.com/channel/UCrlNUqQVBxLIbdltHQBdcYg?view_as=subscriber

How I made MARIO in Construct V.3 Pt.10(Climbing)

In today’s blog post I’ll be showing you how to add code that will allow our player to climb on the vines at the end of the level and this will also allow us to get to the final area of the level.

So our first event is cplayer is overlapping vine. Because we don’t want Mario to be able to climb up the vine with out even overlapping it. Next on key up arrow pressed set cplayers climbing value to true and when we press the down arrow then also set climbing to true. And then we make sure that these actions only trigger when mario is not on the ground.

Next we’ll add an event cplayer is overlapping vine, then a sub event that ensures that mario is climbing. With these events we can finally add our actions that will be as follows set platform gravity to 0 and then we add another sub event keyboard up arrow is down. After which we will set platform vector y to -200 and then set marios animation to climbing at speed 8. and a system else with the actions set platform vector to 200 set animation climbing and set the speed to 0. Finally we make it so that if our platform is on the floor climbing is false. Now with this code lets try climbing the vine.

This is our player going up

And this is down (sorry that they look the same but its more obvious in game)

These are the 3 final lines of code I have for now I will be adding more later this week but for now this is all she wrote so lets finish it. First we need a platform not overlapping vine and we’ll add a set platform gravity to 750 and a set climbing false. After this we will add a subevent of platform jumping. and then another event cplayer is climbing.

Thats it for this blog post I hope you enjoyed. If you have any questions feel free to email me or leave a comment and check out my Yt Channel @Drago Gamin link: https://www.youtube.com/channel/UCrlNUqQVBxLIbdltHQBdcYg?view_as=subscriber

and my email is on the about me page of my website be sure to check it out.

How I made MARIO in Construct V3 Pt.9 (Player Death)

It’s been a while since enemies could attack but it never really did anything to Mario but with our death code he will actually be affected by these collisions/attacks. So lets get started.

First off we need to add some events as always otherwise we have nothing to trigger our actions.

Now This is a massive piece of code but there is no reason to be worried it is quite simple at it’s base. Our events will be system health < or = to 0 and system trigger once. So once those 2 events happen we will subtract 1 from Mario’s lives stop all audio ques then play the SNES Mario world life lost sound. After which we play the death animation. And Just as with our enemies we will set it so that Mario will fall through the floor and then die. So once we set his collisions disabled we will set his platform vector to -600 and his 2 to 200 and also we will make it so that it will ignore our commands and then finally it will subtract 250 from our score.

Now we need to add a command that will apply to Mario when he has 0 or more than 0 lives so we will add a system lives greater than 0 and then the actions. Wait 3.5 seconds set coins to 0 restart layout and add 1 to health.

And then an else meaning if Mario has lives that are not greater than 0 wait 3.5 seconds set health to 1 and go to the game over layout.

with all this code compiled it should look like this.

This is when mario isnt on his last life.
And this is what it looks like when he is

So now that he can die we need to add one more deadly thing that is a part of our map. Which will be our lava pit.

To do this we will simply add this code.

Which will make it so that the moment he makes contact with the lava he instantly dies.

Thats going to be it for this blog post thank you for reading Check out my Yt channel @Drago Gaming link: https://www.youtube.com/channel/UCrlNUqQVBxLIbdltHQBdcYg?view_as=subscriber