2 player battle simulator Step 1: Knight movement and sizing

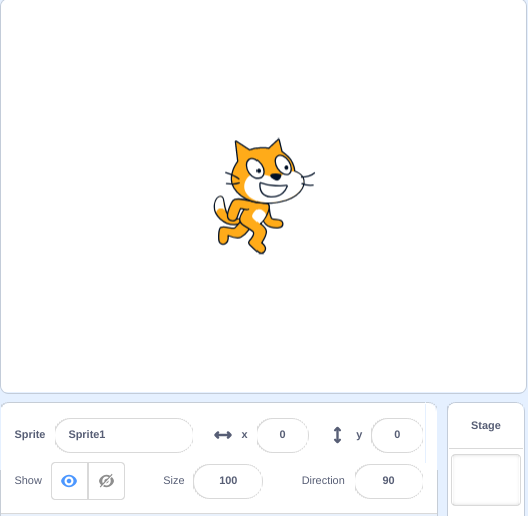
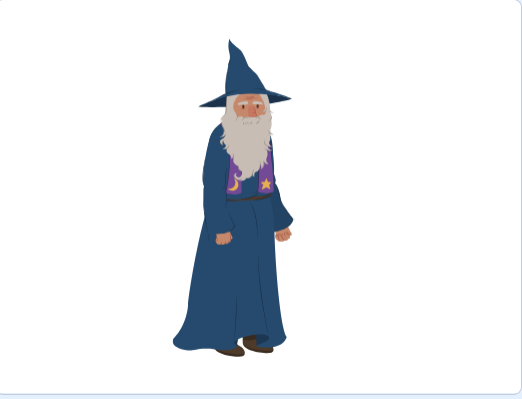
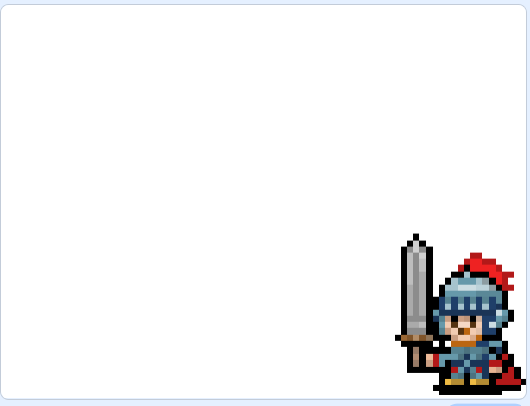
We are finally at the point now where we can start making our first game using the skills and techniques I have explained in previous blogs. To start off we will add a knight I found off the internet. It is okay if your knight does not look the same or have a different size we can adjust that later.

As you can see my knight is in the corner of my screen and is relatively small.

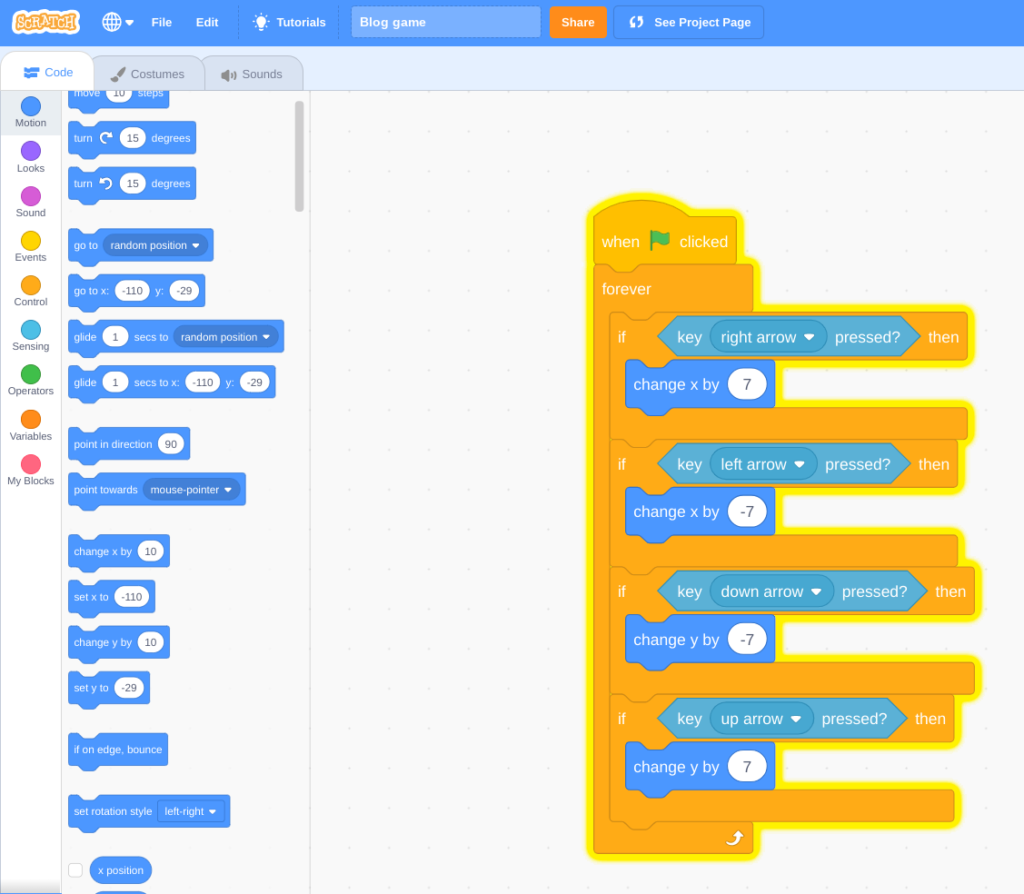
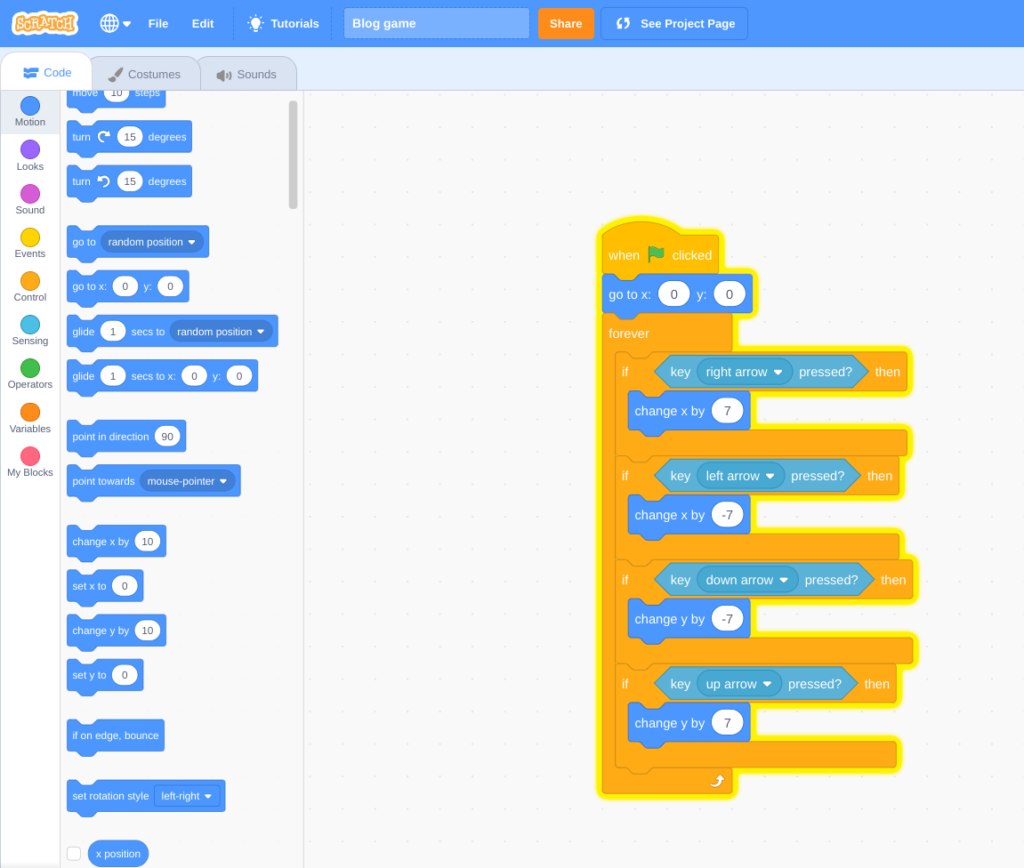
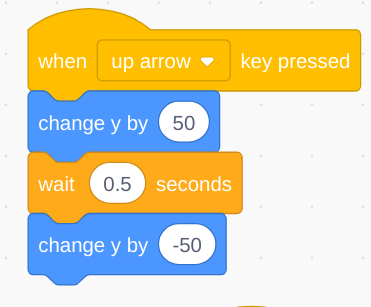
Next we have to add the movements that our knight does we need to add a (when up arrow key pressed). To the (when up arrow key pressed) we need to add a (change y by 50) block, a (wait 0.5 seconds) block, and a (change y by -50) block.

This is our first piece of code.

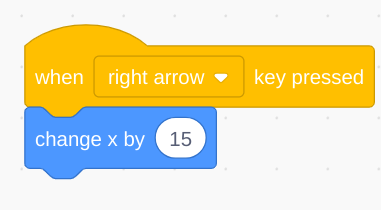
Next we need a (when right arrow key pressed) block with a (change x by 15) block connected to it.

This is our second piece of code and notice the fact that these to blocks are not connected make sure they do not connect because they can get messed up.

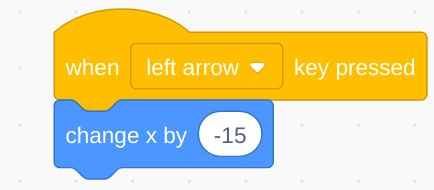
Finally we need a (when left arrow key pressed) block with a (change x by -15) block connected to it.

This is our third and one our last basic movement script.

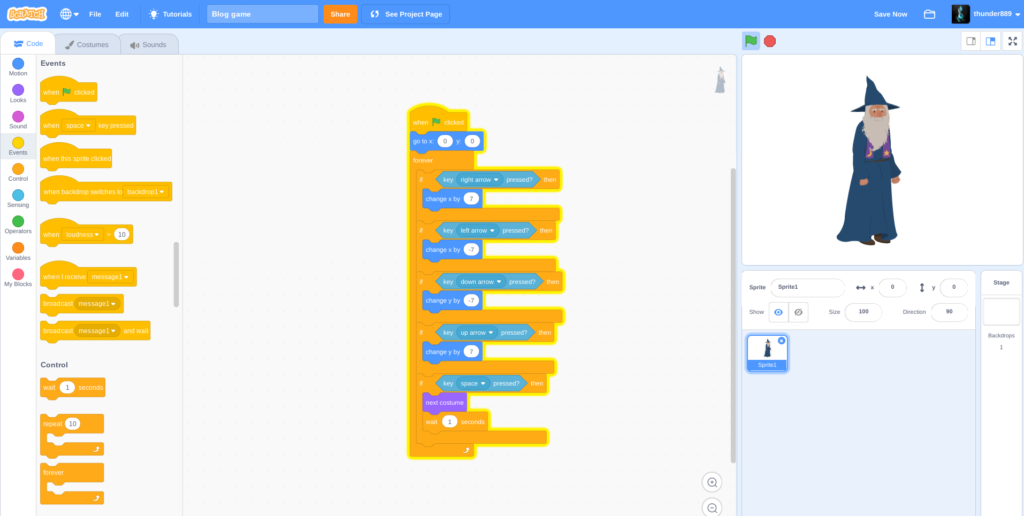
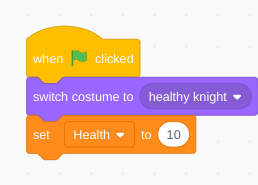
Next I will take a when (green flag clicked) block and a (switch to costume 1) and connect them. After this I will add a variable To make a variable you go to the tab labeled variables and click make a variable. Make sure that when you make the variable it is labeled health and that it is for this sprite only. Once you have finished your variable take a (set health to) block and connect it to the other 2 blocks. Make sure to set the health input to 10.

Don’t forget to set the health input to ten.

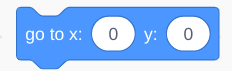
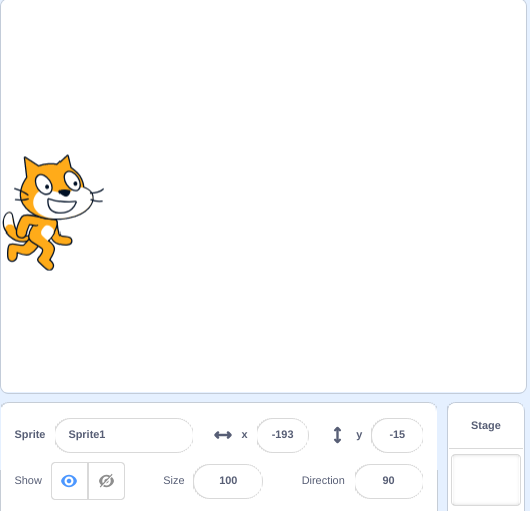
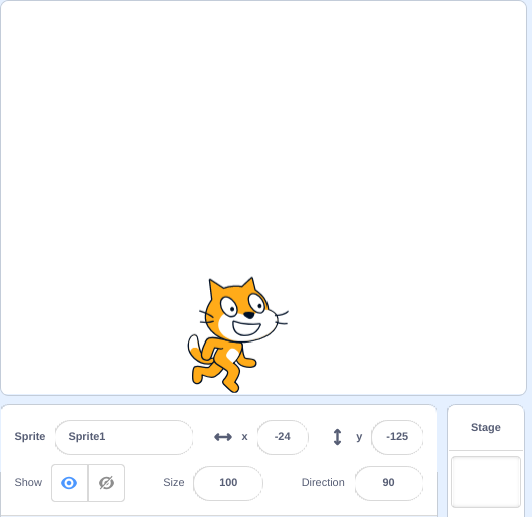
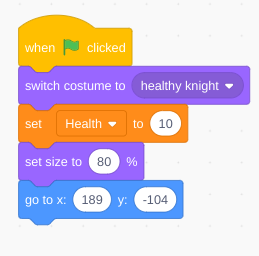
The next 2 blocks may differ slightly on the type and size of the knight you pick for your game. For my sprite I need to use a (set size to 80%) this may be a greater number or a smaller number depending how big your knight is. Finally you add a (go to) block and my coordinates are x:189 and y:-104 your coordinates might differ slightly once you connect all your blocks it should look like this.

Finished product.

This is the end for the first part of making my game 2 player battle simulator thanks for reading my blog and don’t forget to leave a comment and whether you like it or not.

Changing speed, starting position and adding costumes.

In my last post I explained how to program a sprite to move around in a game. Today I will be showing you how to change the speed of the sprite and how to change and add costumes let’s get started.

To change the speed of the sprite you simply have to decrease the amount that the x and y position of the sprite are changing. For example if my sprite is moving by 10 x each time the right arrow is pressed then to slow the sprite down we have to make the sprite only move 7 x each time the right arrow is clicked.

Now that I have made the x and y variable only change by 7 or negative 7 the movement of my sprite is much more controlled and fluid.

Next I will go over how to add a starting position for your sprite. To do this you have to drag out a block that says go to and has an x and a y input.

Note: it is okay if your block does not have the coordinates 0,0 because you can change that later.

Now from personal experience in making countless games I know that there are usually only 3 places that a sprite starts at. Location 1 is the bottom of the screen also known as the edge of the screen. Location 2 is the left hand side of the screen usually in the middle. And Location 3 is at 0,0 or the dead center of the screen.

To make the sprite go to one of these 3 main locations we use the go to block and we insert it into our code we had from my last post. Since I want my sprite in the middle of the screen I will have the coordinates in the go to block at 0,0.

Make sure not to put go to block in the forever loop because then your sprite will always be at 0,0. Also don’t forget to save your project.

Finally I will be showing you how to change and add costumes in your game to make it visually pleasing. To do this we will add another (if then) block to our code as well as a (key space pressed?) block and finally we will add a (next costume) block. This will change the costume of scratch cat into a wizard but we have to add a (wait 1 second) block to make the change smooth.


After we add all this code it will look like this. Once again thank’s to everybody who read this entire blog entry and please comment any tips or ideas that you want to see me post about and make sure to include your real name or your scratch name. And make sure to check back soon for my next post which will include the start of making one of my all time favorite games 2 player battler simulator

Or it will have scratch cat but I wanted the wizard.